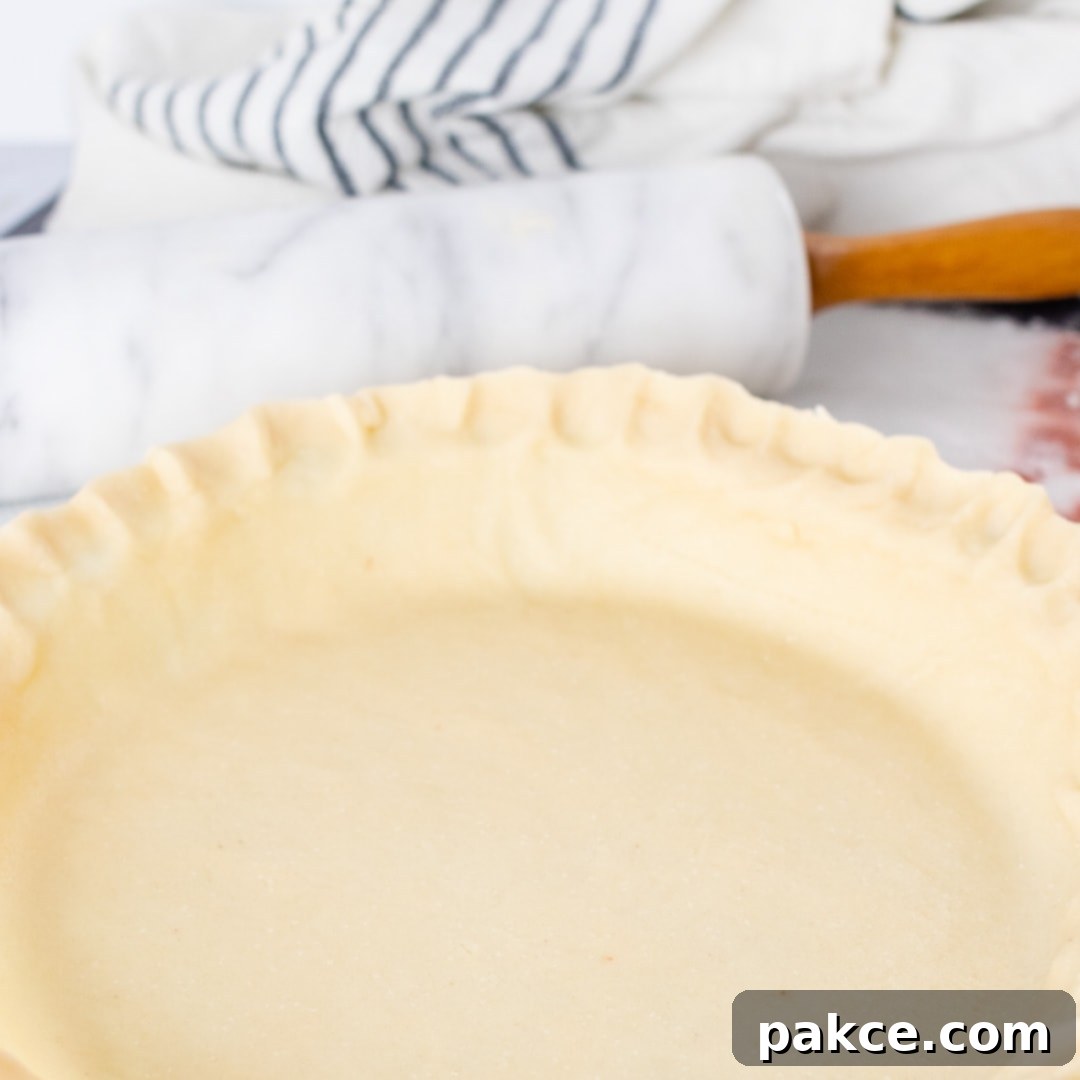
Achieve Bakery-Quality Perfection: Your Guide to Flaky, Buttery, and Freezer-Friendly Pie Crust
Imagine the delightful aroma of a freshly baked pie filling your kitchen, its golden-brown crust promising a perfect blend of crispness and tenderness. Now imagine achieving that artisanal quality with ease, any day of the week, thanks to your very own homemade, freezer-friendly pie crust. This comprehensive guide will show you how to craft a truly exceptional, flaky, and buttery pie crust that serves as the ideal foundation for all your culinary creations – from sweet fruit pies to savory quiches and hearty pot pies.
Our adjustable recipe simplifies the process, allowing you to prepare a single crust or a batch of several at once. The recipe provided is designed to yield enough dough for six individual pie crusts, ready to be stored in your freezer. This means you can enjoy the unparalleled convenience of having prepared pie crusts on hand without the lengthy preparation time each time you decide to bake. Say goodbye to store-bought alternatives laden with lard and preservatives; our all-natural recipe uses just three simple ingredients plus water, ensuring a pure and wholesome taste every time.
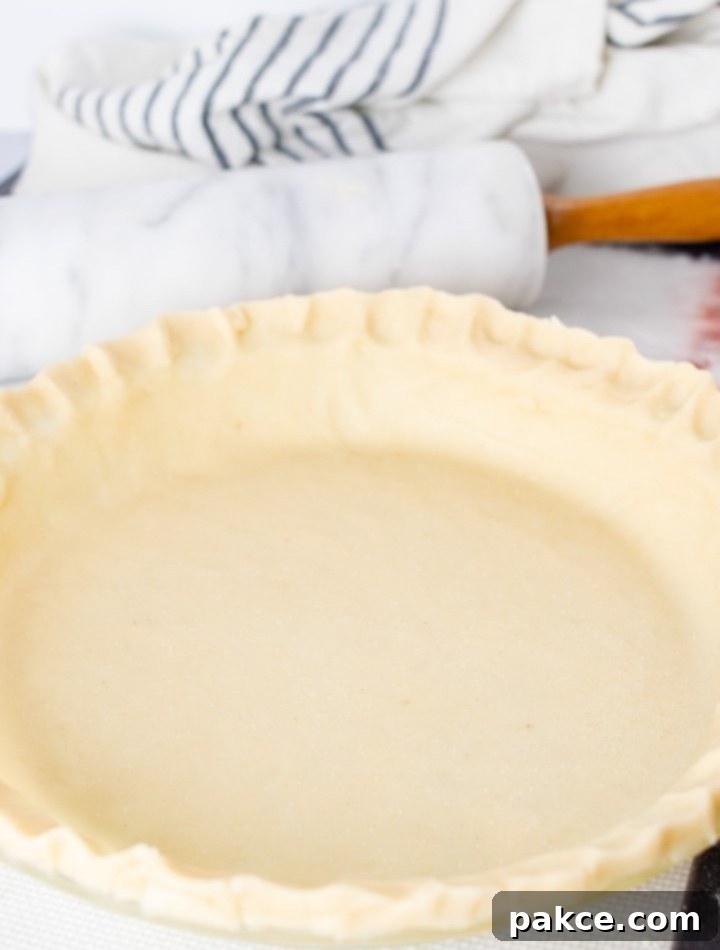
Why Choose Homemade Freezer-Friendly Pie Crust?
There’s a distinct difference between a pie made with a homemade crust and one with a store-bought version. The texture, flavor, and overall satisfaction are simply incomparable. By opting for a bulk, freezer-friendly recipe, you gain several advantages:
- Superior Taste and Texture: Our recipe delivers a rich, buttery flavor and an irresistibly flaky texture that store-bought crusts can rarely match. The secret lies in using real butter and proper technique, which we’ll cover in detail.
- Control Over Ingredients: You know exactly what goes into your food. This recipe uses only flour, butter, salt, and water – no mystery ingredients, no hydrogenated oils, no preservatives. It’s a healthier, more natural choice for your family.
- Time-Saving Convenience: While making pie crust from scratch takes a little effort, preparing it in bulk and freezing it means you have readily available crusts for future baking projects. This transforms a potentially time-consuming task into a quick assembly when you need it most, cutting down on weeknight dinner prep or holiday stress.
- Cost-Effective: Buying pre-made pie crusts can add up. Making your own from basic pantry staples is often more economical, especially when buying ingredients in larger quantities.
- Versatility: This simple, neutral crust is perfect for a wide array of recipes, sweet or savory. Think classic apple pie, rich pumpkin pie, elegant quiches, or comforting chicken pot pies.
The Secrets to a Perfectly Flaky Pie Crust
Achieving that coveted flaky texture isn’t difficult once you understand a few key principles:
1. Keep Everything Cold
This is perhaps the most crucial rule. Cold butter and cold water are essential. When small pieces of cold butter melt in the oven, they release steam, creating pockets that result in a flaky crust. If your butter is too warm, it will fully incorporate into the flour, leading to a tough, rather than flaky, crust.
2. Don’t Overwork the Dough
Overworking the dough develops the gluten in the flour, which makes the crust tough and chewy. We want just enough mixing to bring the dough together. Embrace a slightly shaggy, crumbly texture before adding water, and stop mixing as soon as the dough forms a cohesive ball.
3. Use the Right Tools
While a food processor or stand mixer with a paddle attachment can be quick, a pastry cutter or even your fingertips can effectively cut butter into flour. The goal is pea-sized or slightly larger pieces of butter distributed throughout the flour.
❓ Homemade Pie Crust for the Freezer FAQ
Absolutely! Freezing pie crust is not only possible but highly recommended for meal prep and convenience. You can freeze pie crust dough in a few ways: either as a round, flattened disc, or pre-rolled and gently folded with parchment paper. Freezing the dough rolled out saves you a step later, but it requires careful handling to prevent breakage and may take up more freezer space. Freezing in discs is often easier for storage and allows for rolling when you’re ready to use it, maintaining a more compact shape.
With this efficient bulk recipe, you can prepare six pie crusts and have them ready for the freezer in approximately 20 minutes of active preparation time. This makes it an incredibly time-effective method for stocking up your freezer with homemade goodness.
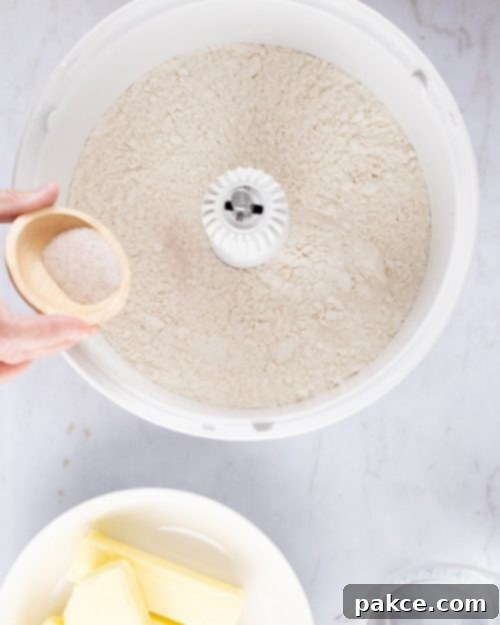
The ingredients for a great pie crust are wonderfully simple: flour, butter, salt, and cold water. Begin by thoroughly mixing the salt into the flour. This ensures even seasoning throughout the crust.

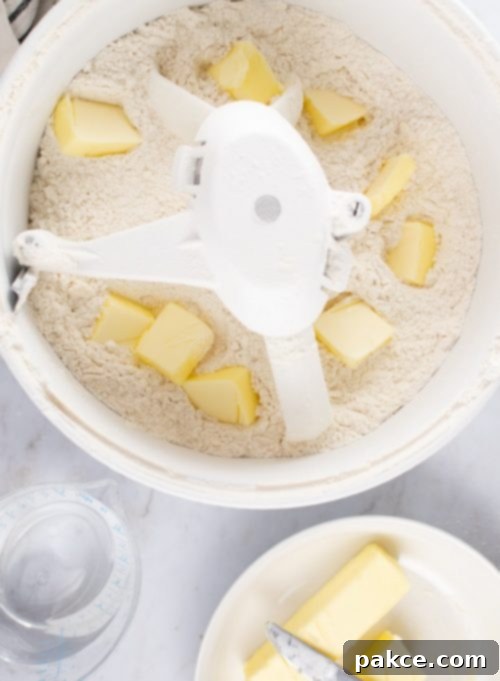
Next, gradually cut in the cold, softened butter. I prefer using my universal stand mixer for this step, pulsing it gently to combine. If you don’t have a mixer, a fork or a pastry cutter works perfectly. The key here is not to create a uniform, smooth mixture. In fact, leaving some larger, pea-sized bits of butter is crucial for developing those desirable flaky layers in the final baked crust. These larger pieces will melt in the oven and create steam pockets.
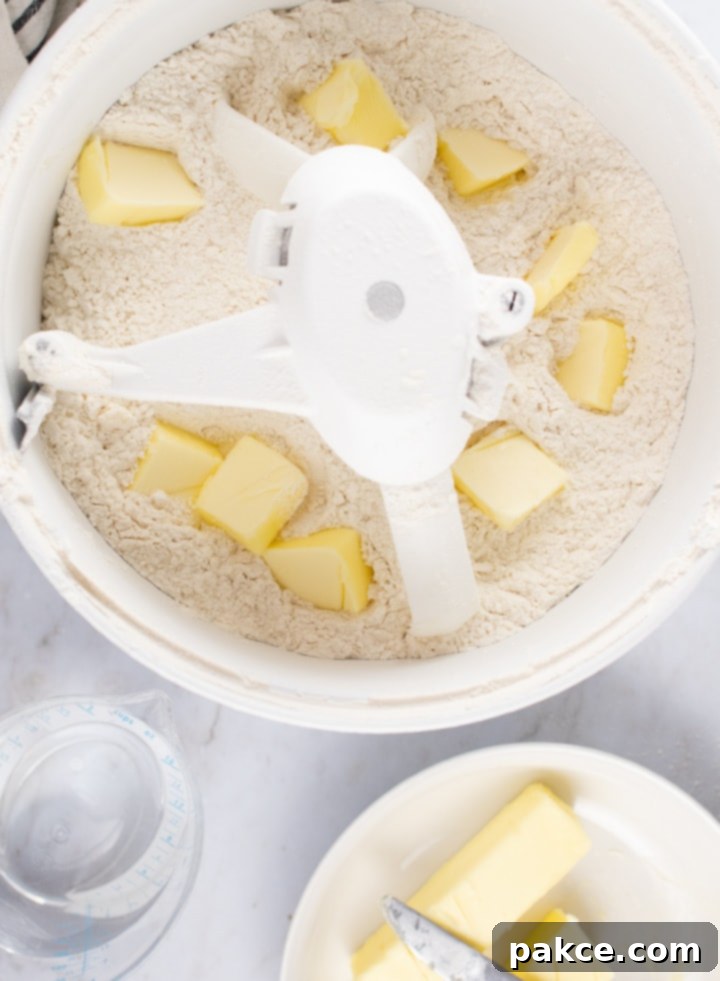
Once all the butter is incorporated and the mixture has a coarse, crumbly, almost sandy appearance, begin adding the cold water, a little at a time. Mix either with your hands or, if using a mixer, pulse on high just until the dough begins to come together. Be careful not to overmix. If at any point the dough starts to feel greasy due to the butter melting, immediately place it in the refrigerator for about 30 minutes to firm up before continuing. The dough should just hold together and not be perfectly smooth.
Once the dough has clumped together, turn it out onto a lightly floured surface. Divide the entire mass in half, then divide each half into three equal sections. Gently form each of these sections into thick, flattened circles or discs, ready for chilling and freezing.
After you’ve prepared the pie crust dough and formed your thick circles, you have two primary options for freezing: freezing as discs or pre-rolling them.
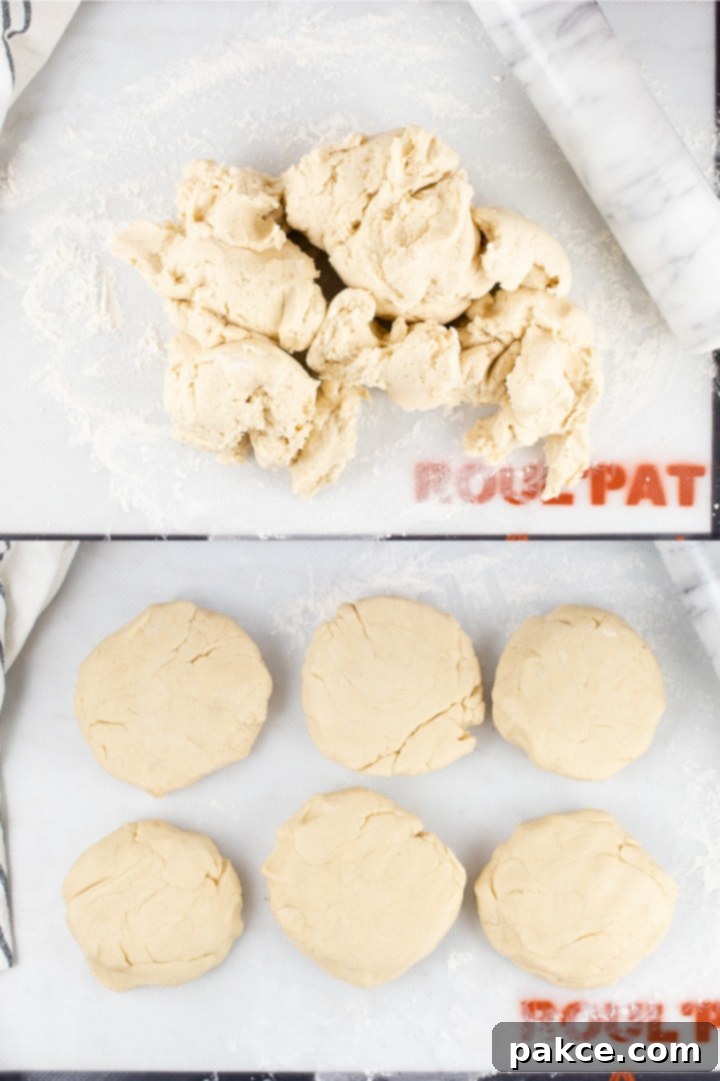
Freezing as Discs (Recommended): For easier storage and less risk of breakage, simply place each dough disc between sheets of parchment paper. Stack these parchment-separated discs in an airtight freezer container or a heavy-duty freezer bag. The parchment paper will prevent them from sticking together, allowing you to easily retrieve one crust at a time. If you don’t have parchment paper, you can individually wrap each disc in plastic wrap before placing them in a container.

Freezing Pre-Rolled Crusts: If you prefer to have your crusts ready to simply unroll and place in a pie plate, you can pre-roll them. Place each section of dough on a lightly floured sheet of parchment paper and roll it out to your desired size and thickness. Then, carefully roll up the parchment paper with the pie crust inside, starting from one end and moving to the other. Place these rolled-up crusts on a baking sheet or flat surface and freeze for a couple of hours until solid. Once individually frozen, they can be stacked in a freezer container or wrapped securely with freezer paper to prevent freezer burn.
If you encounter any challenges with your pie crust consistency, these excellent tips from professional baker Erin McDowell offer valuable insights.
When properly wrapped and stored in an airtight container, your homemade pie crust dough should remain in excellent condition in the freezer for 6 months or even longer. While the crust won’t “go bad” in the traditional sense if frozen for an extended period, it may eventually develop freezer burn, which can lead to a less optimal texture and a slight ‘off’ taste. For the best quality, try to use it within 6-9 months.
Since pie crust relies on solid fats like butter for its flaky consistency, slow and gentle thawing is key. The ideal method is to transfer the frozen pie crust from the freezer to the refrigerator and let it thaw overnight. This slow thaw helps the butter remain firm and distinct from the flour. If you’re short on time, you can thaw the crust on the counter at room temperature until it becomes pliable enough to roll or handle. Never attempt to defrost a frozen pie crust in the microwave, as this will quickly melt the butter, compromising the crucial flaky texture.
It is generally not recommended to substitute margarine for butter in pastry recipes like pie crusts. Margarine typically has a higher water content and different fat composition compared to butter, which can negatively impact the delicate balance required for a truly flaky and tender crust. Stick with real butter for the best results.
Absolutely! This versatile pie crust recipe is perfect for double-crust pies. Simply take two portions of the dough, one for the bottom crust and one for the top. Roll out the first portion and line your pie plate, add your desired pie filling, then roll out the second portion for the top. Gently seal the edges of the top crust to the bottom crust all the way around the pie. Before baking, don’t forget to pierce a few air vents with a fork or a small knife on the top crust. This allows steam to escape during baking, preventing the crust from puffing up excessively and ensuring an even bake.
For a beautiful golden sheen and professional finish on your pie crust, a simple egg wash is your secret weapon. Separate the white from the yolk of one egg, placing the white into a small bowl with high sides. Add water a teaspoon at a time, whisking vigorously until the egg white is light and thin enough to be easily brushed over the crust. For an even deeper golden color and more pronounced shine, you can incorporate the egg yolk as well, whisking it into the thinned egg white mixture before brushing onto the crust.
Recipe
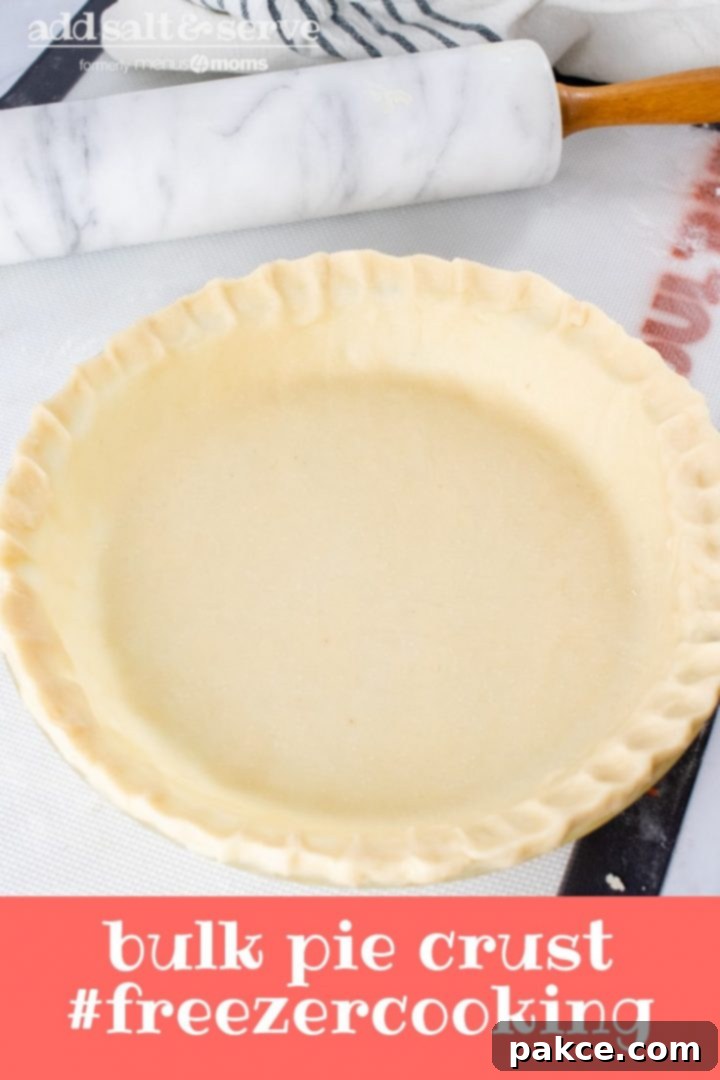
Freezer-Friendly Bulk Pie Crust
Add to Shopping ListGo to Shopping List
Ingredients
- 6 cups all-purpose flour
- 1 pound (4 sticks) cold salted butter, cut into ½-inch cubes
- 2 teaspoons salt
- 1¼ to 1½ cups ice-cold water
Instructions
-
In a large bowl or the bowl of a stand mixer, combine the 6 cups all-purpose flour and 2 teaspoons salt. Whisk or mix briefly to ensure the salt is evenly distributed.

-
Add the cubed 1 pound cold salted butter to the flour mixture. If mixing by hand, use a pastry cutter or two forks to cut the butter into the flour until the mixture resembles coarse meal with some pea-sized (or slightly larger) pieces of butter remaining. If using a stand mixer with a paddle attachment, pulse it on low speed, adding butter gradually, until the desired crumbly texture is achieved. Avoid overmixing, as this develops gluten and can make your crust tough.

-
Gradually add the 1¼ to 1½ cups ice-cold water, one tablespoon at a time, mixing just until the dough starts to come together into a shaggy ball. The exact amount of water can vary depending on flour humidity. Use only enough water to make the dough cohesive; it doesn’t need to be perfectly smooth.
-
If at any point your dough becomes too warm and starts to get greasy because the butter is melting, stop working with it. Place the dough in the refrigerator for about 30 minutes to chill and firm up before continuing.
-
The dough should be just moist enough to hold its shape when pressed together, but it will still appear slightly crumbly and not like a perfectly smooth ball. This texture is ideal for flakiness.

-
Turn the dough out onto a lightly floured surface. Divide the dough evenly in half, then divide each half into three equal parts. Gently shape each of these six portions into slightly flattened discs.

-
At this stage, you have two options for freezing: freeze the dough as discs, or roll each section out to be ready for a pie plate before freezing. If you choose the latter, place each section of crust on lightly floured parchment paper and roll it out to your preferred size. Then, starting at one end of the parchment paper, gently roll it up with the pie crust inside for easy storage and future use.

-
If you are freezing the dough without rolling it out, ensure each disc is slightly flattened. Place a piece of parchment paper between each disc of dough to prevent sticking. Then, stack them neatly in an airtight freezer container or heavy-duty freezer bag.

-
For pre-rolled pie crusts, after rolling them up in parchment paper, place them on a cookie sheet or another flat surface. Freeze them for a couple of hours until they are completely solid. Once individually frozen, you can transfer them to a freezer container or wrap them securely with freezer paper for long-term storage, keeping them protected from freezer burn.
Notes
- The pie dough can be effectively mixed either by hand using a pastry cutter or with a sturdy stand mixer equipped with a paddle attachment.
- Nutrition data provided is calculated per individual pie crust.
- For a wholesome alternative, freshly ground whole wheat flour can be substituted for white flour at a one-to-one ratio.
- To blind bake an unfilled crust, preheat your oven to 475ºF (245ºC) and bake for approximately 8 minutes, or until lightly golden. For filled crusts, follow the specific baking instructions provided in your pie recipe.
Nutrition per serving
Share
Pin
📌 Pin This Recipe for Later!
Discover Delicious Recipes to Use Your Bulk Pie Crust In:
Now that you’re armed with a batch of exquisite homemade pie crusts, the culinary possibilities are endless! Here are some fantastic recipes from our collection that perfectly showcase the versatility and delightful texture of your freezer-friendly bulk pie crust:
- Easy Cheesy Zucchini Quiche
- South of the Border Quiche
- Double-Crust Chicken Pot Pie
- Easy Baked Beef Empanadas for the Freezer
Mastering this simple, versatile, and freezer-friendly pie crust recipe will elevate your baking game and bring the joy of homemade goodness to your table more often. With just a little preparation, you can enjoy flaky, buttery crusts for all your favorite pies, quiches, and pot pies, transforming everyday meals into extraordinary culinary experiences. Happy baking!
