Easy Baked Tex-Mex Chicken Roll Ups: Your Go-To Recipe for Delicious Leftovers
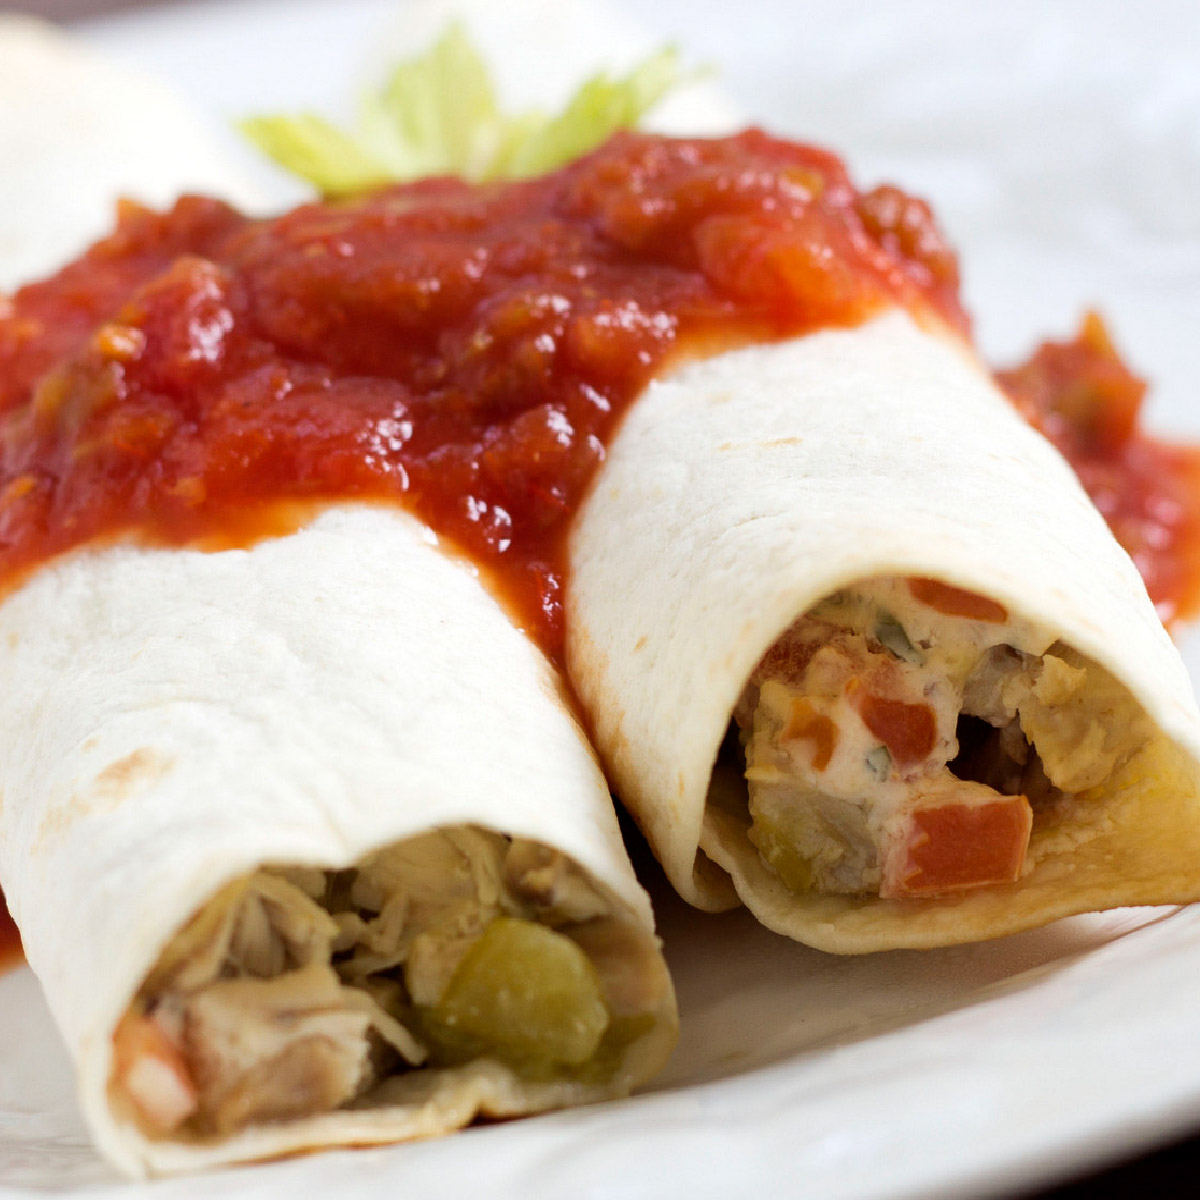
Transform your leftover cooked chicken into something truly extraordinary with these incredible **Baked Tex-Mex Chicken Roll Ups**! Imagine tender, seasoned chicken mixed with a rich, creamy blend of cheeses, diced tomatoes, and a hint of green chilies, all snugly rolled into soft flour tortillas and baked until warm and bubbling. This recipe is not just easy; it’s a culinary magic trick that makes your family forget they’re enjoying “leftovers” at all. It’s a perfect weeknight dinner solution or a crowd-pleasing appetizer for any gathering.
These creamy and flavorful roll ups are designed for convenience without sacrificing taste. The prep time is minimal, allowing you to quickly assemble a hearty meal that’s packed with classic Tex-Mex flavors. Served fresh from the oven with a dollop of salsa, guacamole, or sour cream, they’re guaranteed to become a new favorite in your household.

Why You’ll Fall in Love with These Tex-Mex Chicken Roll Ups
This recipe isn’t just another dinner idea; it’s a testament to how simple ingredients can create profound flavors. Here’s why these **easy chicken roll ups** will quickly earn a spot in your meal rotation:
- Effortless Preparation: From start to finish, the active prep work is surprisingly quick. Most of the time is hands-off baking, making it ideal for busy evenings when you crave a homemade meal without the fuss.
- Unbeatable Flavor Profile: The combination of creamy cheese, zesty tomatoes, mild green chilies, and savory chicken creates a harmonious symphony of Tex-Mex goodness. Each bite is rich, comforting, and incredibly satisfying.
- Smart Use of Leftovers: Have some leftover roasted chicken, grilled chicken, or even a rotisserie chicken? This recipe is the perfect vehicle to give that chicken a delicious second life, ensuring nothing goes to waste.
- Family-Friendly & Customizable: These roll ups are generally mild, appealing to a wide range of palates, including kids. Plus, they’re incredibly adaptable, allowing you to adjust the spice level or add extra vegetables to suit your family’s preferences.
- Versatile Serving Options: While fantastic as a main course, don’t overlook their potential as an appetizer. Cut into smaller sections, these **creamy chicken tortillas** transform into elegant pinwheels perfect for parties or game day snacks.
⏲️ Time Needed to Make Your Tex-Mex Roll Ups
One of the beauties of this dish is its efficiency. While the cream cheese will need about an hour to soften at room temperature, which should be planned ahead, the actual hands-on preparation is incredibly quick. You’ll spend approximately 10 minutes mixing the filling and rolling the tortillas. After that, your oven does the rest of the work, baking these delightful roll ups in about 20 minutes until they’re perfectly heated through and the cheese is melted and bubbly. So, including softening time, you’re looking at a total of about an hour, with just 30 minutes of active cooking and baking.
🥘 Essential Ingredients for Creamy Chicken Roll Ups
Gathering your ingredients is the first step to creating these delightful **chicken and cheese roll ups**. Most of these are pantry staples or easily found at any grocery store:
- Cream Cheese: The backbone of our creamy sauce. For the best flavor and texture, opt for full-fat cream cheese. Ensure it’s fully softened at room temperature for at least an hour before mixing to achieve a smooth, lump-free filling.
- Mexican Blend Cheese: This pre-shredded blend often contains Monterey Jack, Cheddar, Asadero, and Queso Blanco, offering a balanced flavor and excellent melting quality. Feel free to use freshly shredded Monterey Jack or Cheddar if you prefer.
- Fresh Cilantro: Chopped fresh cilantro adds a vibrant, herbaceous note that brightens the entire dish. If you’re not a fan of cilantro, you can omit it or substitute with finely chopped fresh parsley.
- Tomato: Diced fresh tomato provides a juicy burst of flavor and a touch of acidity that complements the richness of the cheese.
- Canned Green Chilies: Diced green chilies (mild or hot, depending on your preference) are a hallmark of Tex-Mex cuisine, adding a subtle smoky heat and depth of flavor without being overwhelmingly spicy. Remember to drain them well.
- Cooked Chicken: This is where your leftovers shine! Three cups of chopped or shredded cooked chicken are needed. Rotisserie chicken is a fantastic shortcut, but any leftover baked, grilled, or boiled chicken will work perfectly.
- Flour Tortillas: Eight-inch flour tortillas are ideal for rolling. They are pliable and sturdy enough to hold the generous filling.
- Non-Stick Cooking Spray: For preparing your baking dish.
- Salsa: For serving – a must-have topping for these roll ups!
🌾 Adaptations for Dietary Restrictions and Preferences
These **Baked Tex-Mex Chicken Roll Ups** are wonderfully versatile, allowing for several adjustments to fit various dietary needs and taste preferences:
- Gluten-Free Options: If you’re avoiding gluten, you can certainly use gluten-free tortillas. While 8-inch corn tortillas can be used, they sometimes prove a bit more challenging to roll without cracking, especially if they aren’t warmed slightly first. You might find larger, more pliable gluten-free flour tortillas at specialty stores or even larger chain grocery stores. Remember to check labels carefully to ensure they meet your dietary requirements. A common misconception is that “low-carb” automatically means “gluten-free”; this is not always the case, so always verify ingredients.
- Lower Carb Alternatives: For a low-carb version, consider using low-carb tortillas. Alternatively, you can serve the creamy chicken filling in lettuce cups or over a bed of cauliflower rice for a completely tortilla-free experience.
- Vegetarian Twist: To make this dish vegetarian, simply swap the chicken for a hearty plant-based alternative. Cooked and seasoned black beans, corn, sautéed bell peppers, or a plant-based shredded “chicken” substitute would work wonderfully to create a delicious meat-free filling.
- Dairy-Free: With dairy-free cream cheese and shredded cheese alternatives readily available, you can often adapt this recipe to be dairy-free without losing much of the creamy texture and flavor.
📋 Step-by-Step Instructions for Your Easy Chicken Roll Ups
Let’s get cooking! Follow these simple steps to create your delicious **Baked Tex-Mex Chicken Roll Ups**:
- Soften Cream Cheese: About an hour before you plan to start cooking, set your cream cheese out on the counter. It needs to be thoroughly softened to ensure a smooth, easily mixable filling.
- Preheat Oven & Prepare Dish: Preheat your oven to 350°F (175°C). Lightly spray a 9×13 inch baking dish with non-stick cooking spray to prevent sticking and make cleanup easier.
- Prepare the Filling: In a medium-sized bowl, combine the softened cream cheese, shredded Mexican blend cheese, and chopped fresh cilantro. Mix these ingredients thoroughly until well combined and creamy.
- Add Chicken & Vegetables: Gently fold in the diced tomatoes, drained canned green chilies, and chopped cooked chicken. Mix carefully until all ingredients are evenly distributed throughout the creamy cheese mixture.
- Fill the Tortillas: Lay out each 8-inch flour tortilla flat. Place an even amount (approximately ⅓ to ½ cup, depending on how full you like them) of the chicken and cheese mixture onto the centerline of each tortilla. Don’t overfill, or they will be hard to roll.
- Roll Them Up: Tightly roll up each tortilla, starting from one edge, ensuring the filling is securely enclosed. Place the rolled tortillas into your prepared baking dish, seam side down. This helps keep them from unrolling during baking.
- Bake to Perfection: Cover the baking dish tightly with aluminum foil. Bake in the preheated oven for about 20 minutes, or until the roll ups are heated through and the cheese inside is melted and gooey.
- Serve Warm: Carefully remove the dish from the oven. Serve your warm and cheesy Tex-Mex Chicken Roll Ups immediately with your favorite salsa.
💭 Tips and Variations for the Best Baked Tex-Mex Chicken Roll Ups
This recipe is already fantastic, but with a few extra tips and variations, you can elevate it to truly match your family’s tastes and make it even more convenient!
- Get Creative with Add-ins: Don’t be afraid to experiment! Beyond the classic tomatoes and green chilies, consider these wonderful additions or substitutions to the filling:
- Bell Peppers: Finely diced red, yellow, or green bell peppers add color, crunch, and a sweet flavor.
- Jalapeños: For a spicier kick, add finely diced fresh or pickled jalapeños. Remove seeds and membranes for less heat.
- Black Olives: Sliced or chopped black olives offer a briny counterpoint to the creamy cheese.
- Black Beans & Corn: Rinsed and drained canned black beans and corn kernels can add more texture, fiber, and an authentic Southwestern flair.
- Onions: Sautéed finely diced white or red onions can add a depth of savory flavor.
- Spices: Enhance the Tex-Mex profile with a pinch of cumin, chili powder, or smoked paprika added directly to the filling mixture.
- Serving Suggestions Beyond Salsa: While salsa is a classic, these roll ups are also delicious with:
- Homemade Guacamole: A fresh, creamy complement. You can find a great recipe here.
- Sour Cream or Greek Yogurt: A cool, tangy topping that balances the flavors.
- Hot Sauce: A drizzle of your favorite hot sauce for an extra kick.
- Fresh Lime Wedges: A squeeze of fresh lime juice can brighten the entire dish.
- Shredded Lettuce & Diced Avocado: For added freshness and texture.
- Make-Ahead Magic: You can prepare the chicken and cheese filling up to 24 hours in advance. Store it in an airtight container in the refrigerator. When ready to bake, let the filling come closer to room temperature for easier spreading, then proceed with filling and baking the tortillas.
- Freezing for Future Meals: These roll ups are surprisingly freezer-friendly!
- To Freeze Unbaked: Assemble the roll ups as directed, but do not bake. Place them in a single layer on a baking sheet and freeze until solid. Transfer the frozen roll ups to a freezer-safe bag or container, separating layers with parchment paper. Freeze for up to 3 months. To bake, thaw overnight in the refrigerator, then bake as directed. You can also bake from frozen, extending baking time to 35-45 minutes or until heated through.
- To Freeze Baked: Allow baked roll ups to cool completely. Wrap individually in plastic wrap, then place in a freezer-safe bag or container. Freeze for up to 2 months. Reheat in the oven at 350°F (175°C) until warmed through, or microwave for quicker reheating.
- Appetizer Pinwheels: These make fantastic chilled appetizers! This method works best with shredded rather than chopped chicken for a smoother consistency.
- Combine the filling ingredients as directed.
- Instead of placing the mixture on the centerline, spread it evenly across the entire surface of each tortilla, leaving a small border.
- Roll the tortillas tightly and then chill them in the refrigerator for at least an hour (or longer) to firm up.
- Once chilled, use a sharp knife to slice each tortilla into pinwheels about ¾ to 1 inch thick. Arrange them on a platter and serve with your favorite dips. This method might use fewer tortillas depending on how many pinwheels you want per person.
- Crispier Tortillas: If you prefer a slightly crispier exterior, you can lightly brush the rolled tortillas with a little olive oil or melted butter before baking. For even more crispness, remove the foil during the last 5-10 minutes of baking.
Recipe: Baked Tex-Mex Chicken Roll Ups

Baked Tex-Mex Chicken Roll Ups
Baked Tex-Mex Chicken Roll Ups with tomatoes and green chilies in a creamy cheese sauce are so easy to make and are a great way to use leftover cooked chicken. Your family will never realize that these creamy and delicious baked roll ups are leftovers!
Author: Mary Ann
Course: Appetizer, Main Dish
Cuisine: Tex-Mex
Prep Time: 10 mins
Cook Time: 20 mins
Total Time: 30 mins
Servings: 6 servings
Calories: 266 kcal per serving
Ingredients
- ⅓ cup cream cheese, softened
- 1 cup Mexican blend cheese, shredded
- 2 tablespoons fresh cilantro, chopped
- ¼ cup chopped tomatoes
- 4.5 ounce can diced green chilies, drained
- 3 cups chopped cooked chicken
- 6 8-inch flour tortillas
- Salsa, for garnish
Instructions
- Preheat oven to 350°F (175°C).
- Lightly spray a 9×13 inch baking dish with non-stick cooking spray.
- Mix softened cream cheese, Mexican blend cheese, and cilantro in a small bowl until well combined.
- Add tomatoes, green chilies, and cooked chicken to the cream cheese mixture; mix gently until all ingredients are evenly distributed.
- Place an even amount of mixture onto the centerline of each tortilla.
- Roll up each tortilla tightly and place in the prepared baking dish seam side down.
- Cover the dish with aluminum foil and bake for about 20 minutes, or until heated through and the cheese is melted.
- Serve warm with salsa.
Notes
Salsa and any additional toppings are not included in the nutrition data.
Tips: Feel free to customize the filling with other ingredients like red bell peppers, jalapeños, chopped black olives, or black beans. For a delicious alternative, serve with homemade guacamole in addition to or instead of salsa.
These also make excellent chilled appetizers! For pinwheels, use shredded chicken, spread the filling evenly across the entire tortilla, roll tightly, chill, and then slice into pinwheels before serving.
🥗 Delicious Side Dishes to Pair with Your Roll Ups
These **Baked Tex-Mex Chicken Roll Ups** are a meal in themselves, but they also pair beautifully with a variety of side dishes to complete your Tex-Mex feast:
- Tex-Mex Cole Slaw: A refreshing and tangy slaw with a kick, providing a lovely contrast to the creamy roll ups.
- Cilantro Lime Rice: Fluffy rice infused with fresh lime and cilantro, offering a bright and aromatic accompaniment.
- Creamy Mexi-Corn Casserole: A rich and comforting casserole featuring corn in a creamy sauce, adding another layer of indulgence.
- Southwestern Bean Salad: A vibrant and hearty salad packed with various beans, corn, and a zesty dressing, perfect for a lighter side.
- Simple Green Salad: A crisp green salad with a light vinaigrette is always a good choice to balance the richness.
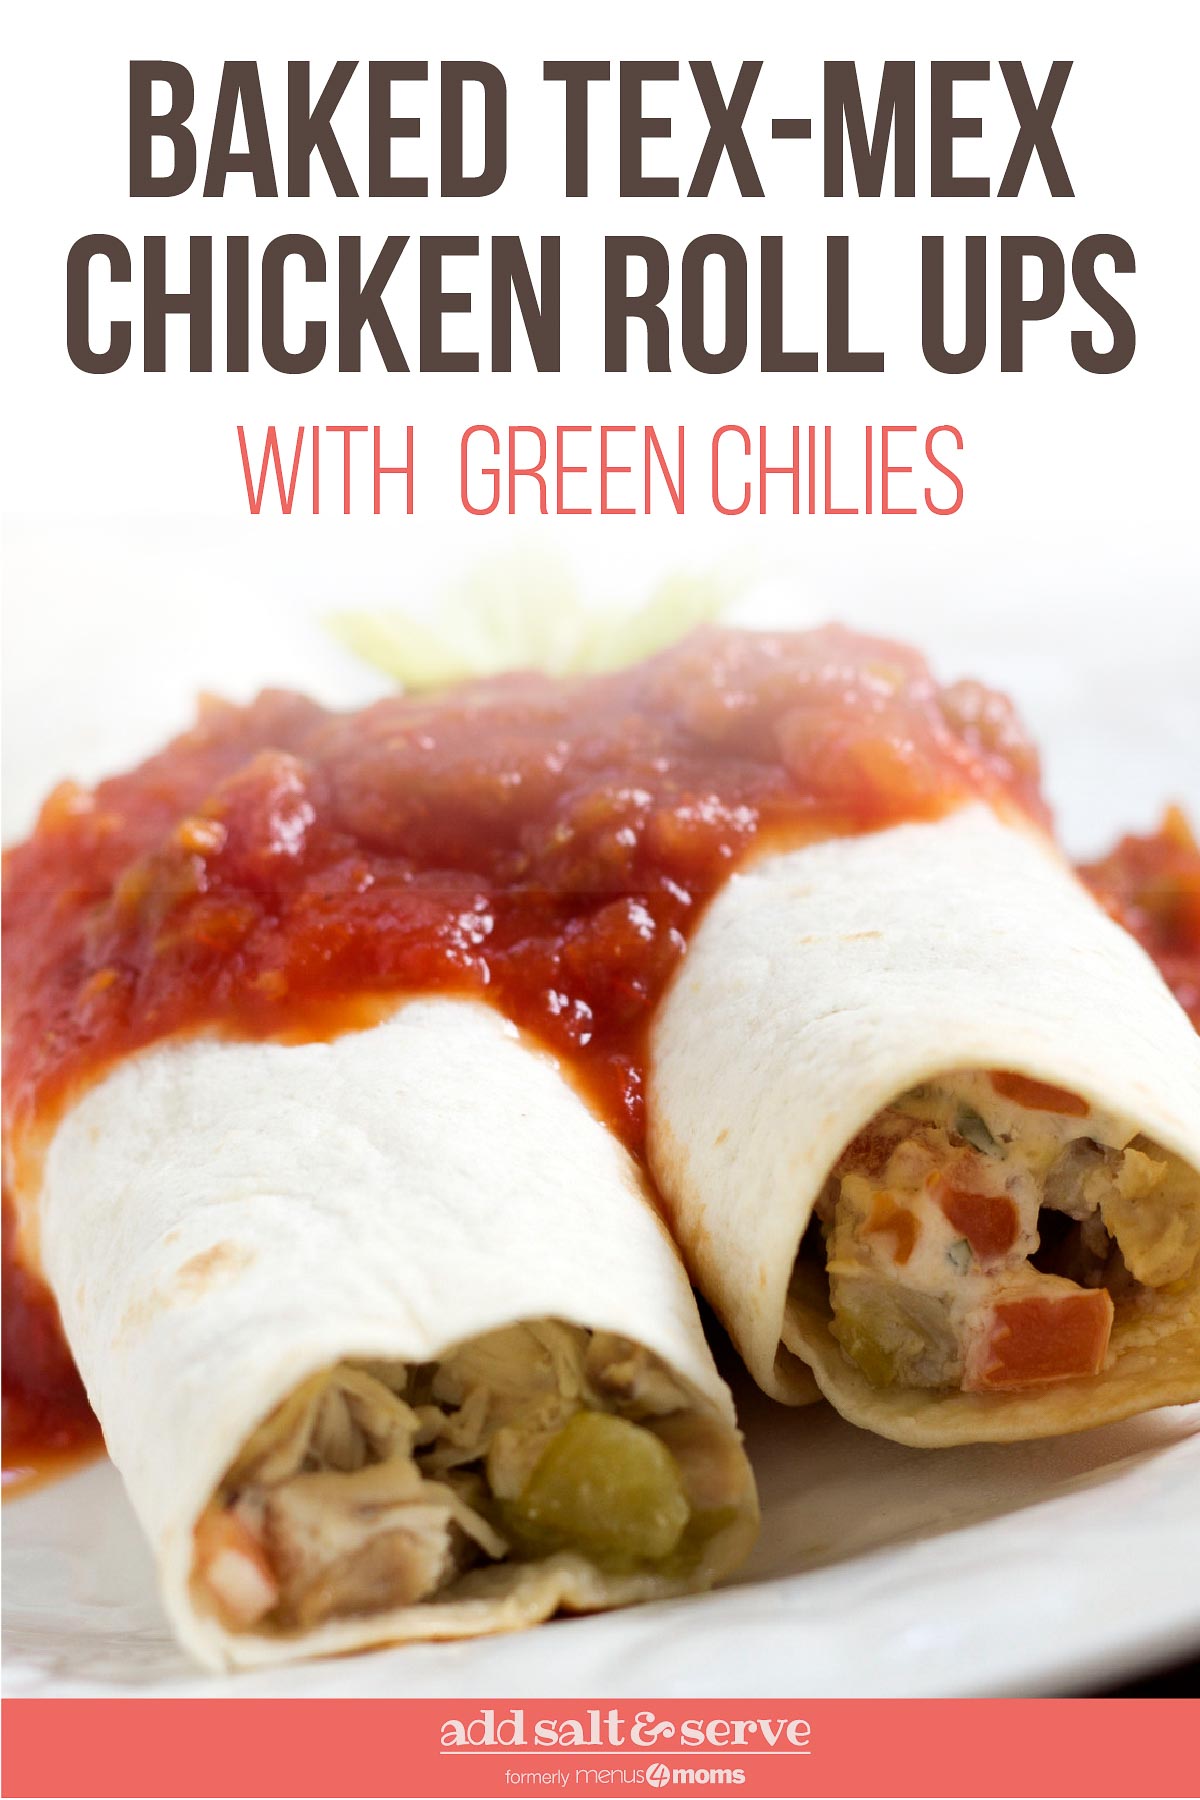
📌 Pin This Recipe for Later!
Don’t let this fantastic recipe get lost in your bookmarks! Pin it to your favorite dinner or appetizer boards on Pinterest so you can easily find it whenever you’re looking for a quick, delicious, and family-approved meal.

