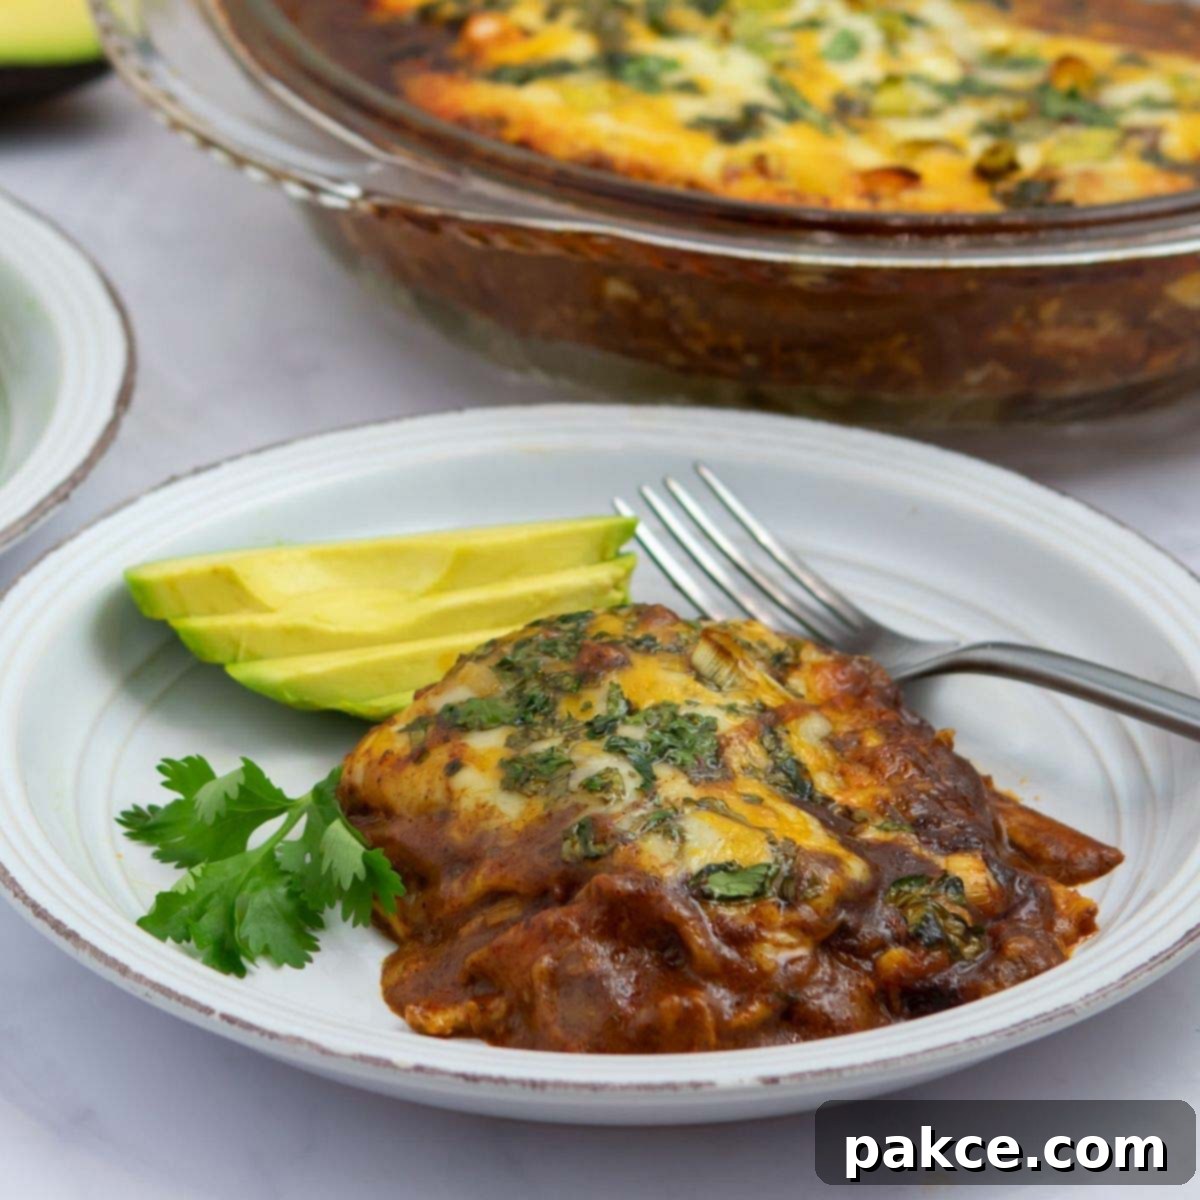
Easy Layered Chicken Enchilada Bake: Your Go-To Weeknight Meal with Rotisserie Chicken
Craving the rich, cheesy, and deeply savory flavors of Mexican food but short on time? This easy chicken enchilada bake is your perfect solution! It takes all the irresistible elements of traditional enchiladas – tender chicken, gooey cheese, and a robust, homemade sauce – and transforms them into a simple, layered casserole. Forget the hassle of rolling individual tortillas; this dish is designed for busy weeknights, utilizing convenient rotisserie chicken and a quick-to-make, authentic enchilada sauce. It’s a family-friendly, freezer-friendly recipe that delivers bold, comforting flavors without compromising on ease.
[feast_advanced_jump_to]
What is a Layered Enchilada Bake?
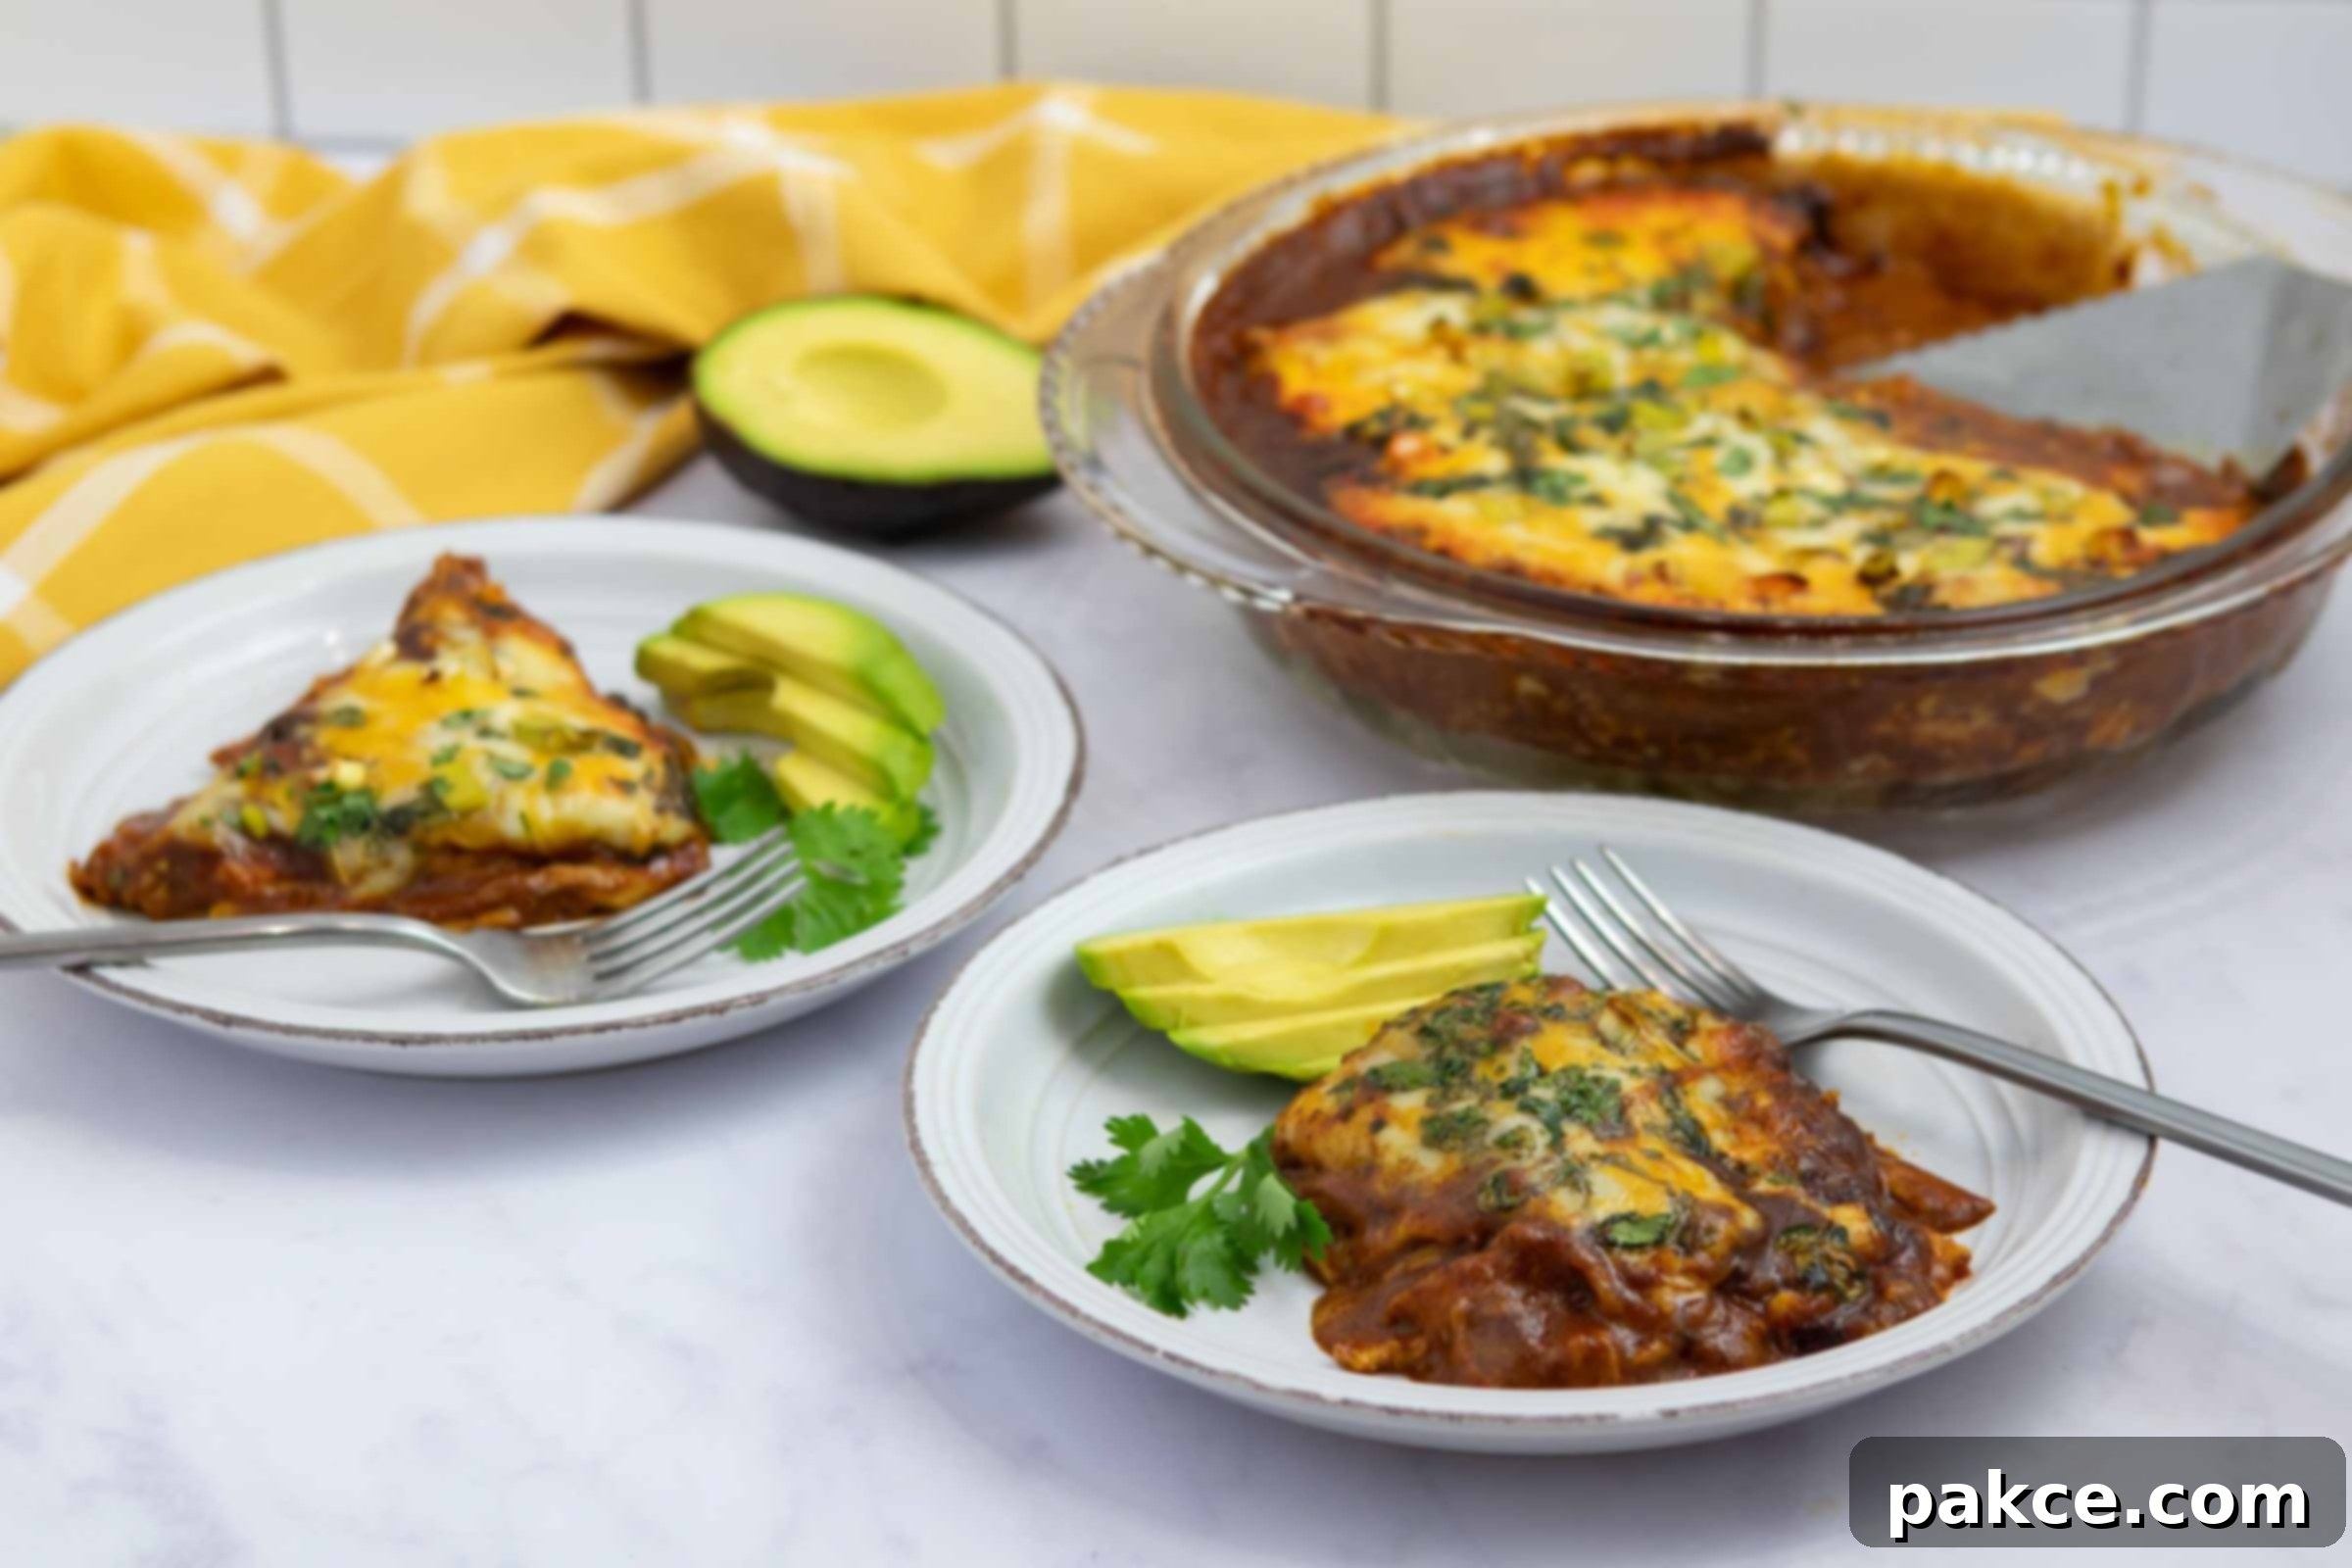
Unlike traditional enchiladas, which require the time-consuming process of rolling individual tortillas filled with ingredients, a layered enchilada bake simplifies everything. Imagine a Mexican-inspired lasagna, where layers of soft tortillas, tender chicken, rich homemade enchilada sauce, and plenty of melty cheese are stacked in a baking dish. This innovative approach makes it significantly faster and easier to prepare, while still delivering all the beloved, authentic flavors and comforting cheesy goodness you expect from a classic enchilada dish. It’s the same satisfying taste you love, but with absolutely zero tortilla rolling required!
This particular Chicken Enchilada Bake recipe was born out of a craving for the incredible enchilada pie served at my favorite local food market, The Friendly Market. One evening, with some leftover rotisserie chicken on hand, I decided to try creating a copycat version at home. The result was so delicious and authentic that my husband couldn’t even tell the difference from the market’s original. It quickly became a staple in our household.
Why You’ll Love This Easy Chicken Enchilada Bake
This layered chicken enchilada bake isn’t just another dinner recipe; it’s a culinary lifesaver for busy home cooks. Here’s why it’s destined to become a regular in your meal rotation:
- Fast and Easy Preparation: The secret ingredient here is shredded rotisserie chicken. By using pre-cooked chicken, you dramatically cut down on prep time, making this a perfect meal even on the busiest of weeknights when you need dinner on the table quickly.
- Perfect Make-Ahead Meal: Life gets hectic, and having delicious meals ready to go is a game-changer. This enchilada bake is ideal for make-ahead convenience. You can assemble it entirely in advance and refrigerate it, or even freeze it for a future stress-free dinner.
- Scales Up Effortlessly: Whether you’re feeding a small family or hosting a larger gathering, this recipe is incredibly easy to scale. Simply double the ingredients and use a larger casserole dish to feed a crowd without extra effort.
- Family-Friendly Flavors: With its mild, savory sauce and abundance of cheese, this dish has broad appeal. It’s a fantastic way to introduce Mexican flavors to picky eaters, and it’s almost guaranteed to get rave reviews from everyone at the table.
- Flexible and Adaptable Ingredients: This recipe is wonderfully forgiving. You can easily swap out cheeses, add extra vegetables, or even adjust the spice level to suit your family’s preferences or whatever you have on hand. It’s truly a “use what you have” kind of meal.
Pro Tip: To make weeknight dinners even faster, always keep shredded rotisserie chicken in your freezer in dinner-ready portions. It’s a total lifesaver and forms the base for countless quick meals, including this delicious enchilada bake.
What Makes This Homemade Enchilada Sauce Special?
Many people associate red enchilada sauce with tomato-based flavors, but authentic Mexican red enchilada sauce is a world apart. It’s built on a foundation of bold, earthy, and complex flavors that don’t rely on tomatoes at all. The signature deep red color and smoky warmth come from quality chili powder (often made from dried, ground chiles), a carefully selected blend of spices like cumin and garlic powder, and a rich chicken broth base. This simple combination creates a sauce with incredible depth and nuance that far surpasses the taste of most store-bought canned varieties.
While you can certainly use a good quality store-bought enchilada sauce if you’re truly in a pinch, making it from scratch only takes about five extra minutes, and the difference in flavor is absolutely worth the minimal effort. Your taste buds will thank you!
✨ Why Homemade Enchilada Sauce Wins Every Time ✨
- No Unwanted Ingredients: By making your own, you skip the preservatives, excessive sodium, and added sugars often found in canned sauces.
- Superior Flavor Control: You have complete control to adjust the heat level, saltiness, and specific spices to perfectly match your family’s preferences.
- Authentic Taste Profile: Experience the true, rich, and earthy flavors of traditional enchilada sauce, free from the often overwhelming tang of tomato.
- Budget-Friendly Option: Crafting your own sauce at home is almost always more economical than purchasing pre-made canned versions.
- Freezer-Friendly Convenience: Easily double the batch and freeze half for your next enchilada bake, saving even more time down the line.
Bottom line? A homemade sauce gives this dish a truly authentic, real-deal flavor boost without adding significant time or effort to your cooking process.
Key Ingredients for Your Chicken Enchilada Bake
Gathering your ingredients is the first step to creating this mouthwatering layered enchilada bake. Here’s a detailed look at what you’ll need:
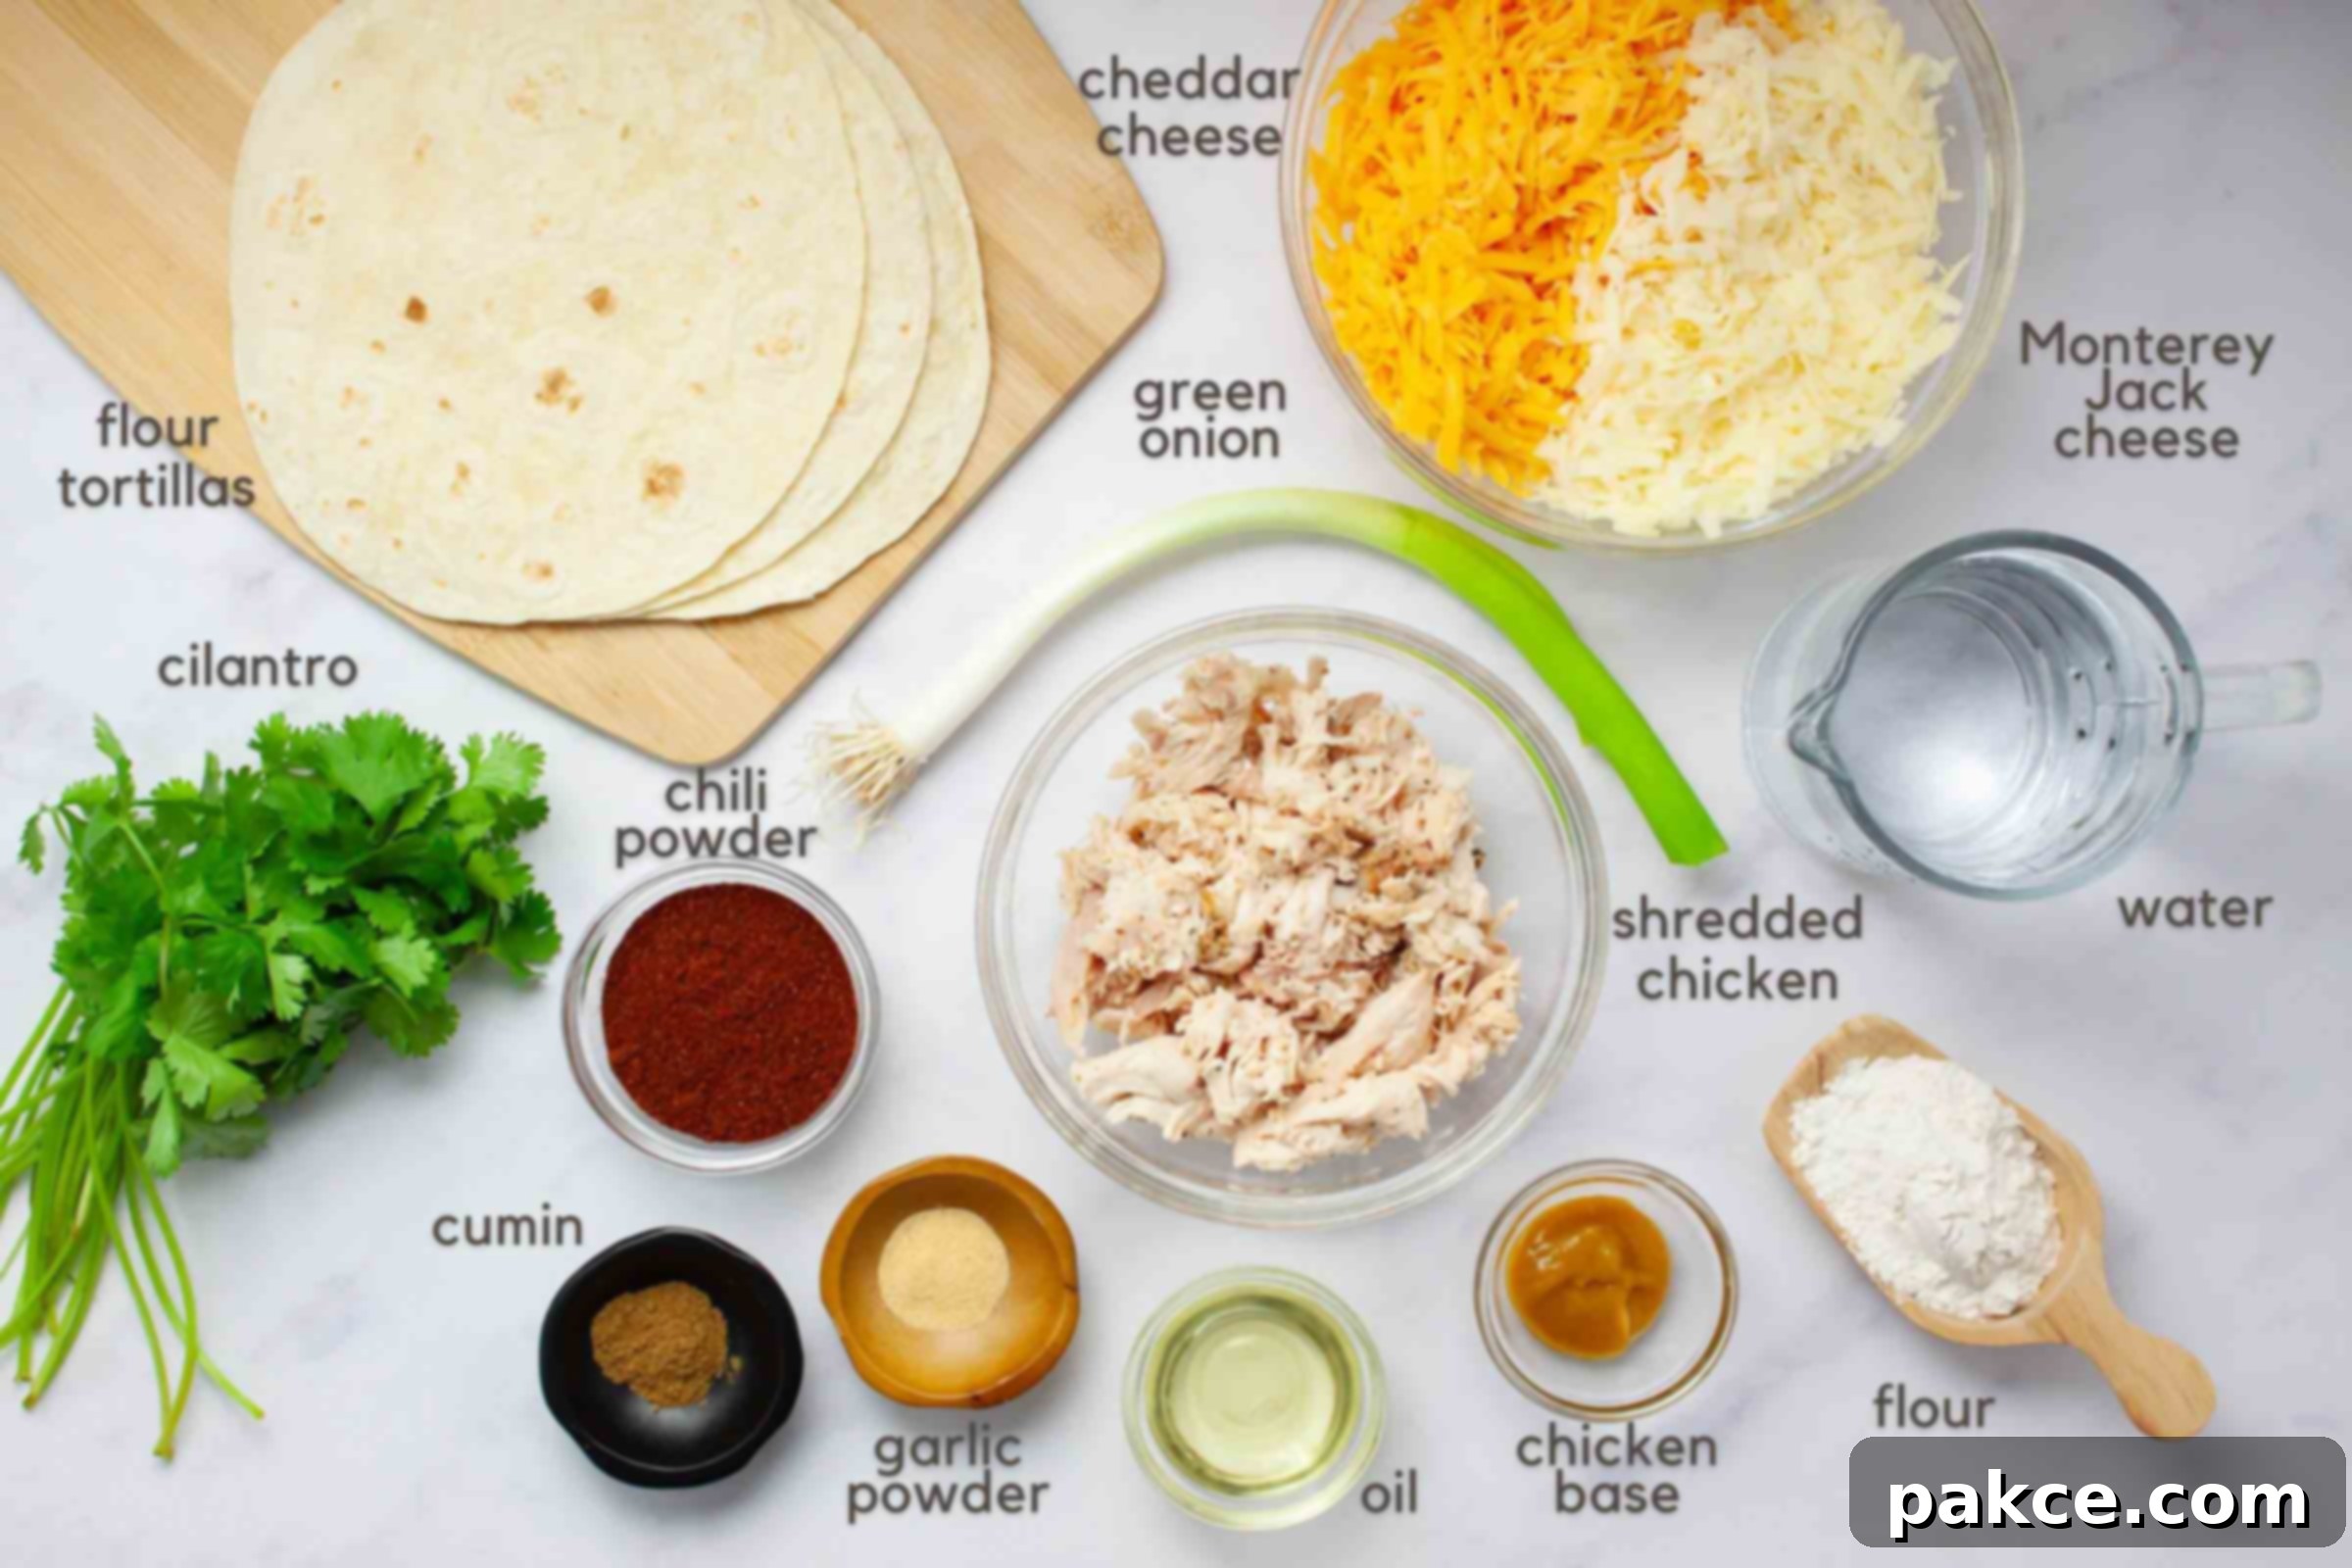
- Shredded Chicken: The star of the show! Rotisserie chicken is highly recommended for its convenience and tender texture. It saves a tremendous amount of cooking time. As a pro tip, I always keep shredded rotisserie chicken frozen in recipe-ready portions to quickly whip up weeknight dinners. Check out my other easy recipes with rotisserie chicken for more time-saving meal ideas!
- Flour Tortillas: These form the “layers” of your bake. The easiest method is to prepare this dish in a pie plate, so choose tortillas that perfectly fit its size (8-10 inches usually work well). If you opt for a larger casserole dish, you’ll need to double the recipe and use tortillas no wider than the dish itself, cutting some in half to fill any gaps and ensure even layering.
- All-Purpose Flour & Vegetable Oil: These two simple ingredients are essential for creating a roux, which acts as the thickening base for your rich, homemade enchilada sauce.
- Chili Powder: This is the primary flavor component of your authentic red enchilada sauce. Don’t be shy; adjust the amount to your personal preference for heat and depth of flavor.
- Garlic Powder & Ground Cumin: These aromatic spices are crucial for building the complex, earthy, and savory notes that define a truly great enchilada sauce.
- Shredded Cheddar & Monterey Jack Cheese: This classic combination provides both sharp flavor and incredible meltiness. Feel free to be flexible here; a Mexican blend, pepper Jack, or even just all cheddar or all Monterey Jack will work beautifully depending on your taste.
- Green Onion & Cilantro: These fresh herbs are used as a vibrant garnish, adding a pop of color and a fresh, bright finish to your baked enchilada dish.
- Non-Stick Cooking Spray: (Not pictured but essential!) This ensures your enchilada bake doesn’t stick to the pan, making serving and cleanup a breeze.
- Chicken Base & Water: Chicken base, like Better Than Bouillon, is a concentrated paste that provides a rich, deep chicken flavor to your sauce, similar to a high-quality bouillon. I prefer Better Than Bouillon for its superior taste. Alternatively, you can substitute with dry bouillon granules or simply use chicken broth in place of both the chicken base and water.
Better Than Bouillon Chicken Base
Easy Substitutions and Flavorful Variations
One of the best things about this layered chicken enchilada bake is how versatile it is! You can easily customize it to suit different tastes or dietary needs. Here are some fantastic ideas to get you started:
Add-ins for Extra Flavor and Texture:
- Black Beans: Rinsed and drained black beans add a hearty, protein-rich element and a lovely earthy flavor.
- Corn: Sweet corn kernels (fresh, frozen, or canned and drained) bring a burst of sweetness. For an extra layer of flavor, try using fire-roasted frozen corn!
- Chopped Fire-Roasted Green Chiles: These add a mild, smoky heat and a touch of tang, enhancing the overall Mexican profile.
- Sautéed Diced Onion or Bell Pepper: For an additional layer of aromatic flavor and texture, sauté finely diced yellow onion or colorful bell peppers (or both!) until soft before adding them to the chicken mixture.
- Spicy Kick: If you love heat, add a pinch of cayenne pepper or a dash of your favorite hot sauce to the enchilada sauce.
Make It Vegetarian:
- Protein Swap: Easily replace the shredded chicken with an equal amount of well-drained black beans. You can also add pinto beans or a mix of sautéed vegetables like zucchini and mushrooms.
- Broth Alternative: Instead of chicken base, use a vegetarian or “No Chicken” bouillon base, such as Better Than Bouillon No Chicken Base, to maintain a rich, savory flavor in the sauce.
Make It Gluten-Free:
- Tortilla Choice: Simply swap out the flour tortillas for corn tortillas. Ensure they are soft enough to layer without breaking.
- Sauce Thickener: For the sauce, use a 1-to-1 gluten-free flour substitute (like Bob’s Red Mill 1-to-1 Baking Flour) in place of all-purpose flour. Additionally, ensure you use a certified gluten-free chicken broth or a GF chicken base in place of the regular chicken base and water.
How to Create Your Layered Chicken Enchilada Bake
Get ready for a straightforward and enjoyable cooking experience! Follow these simple steps to assemble your delicious chicken enchilada bake:
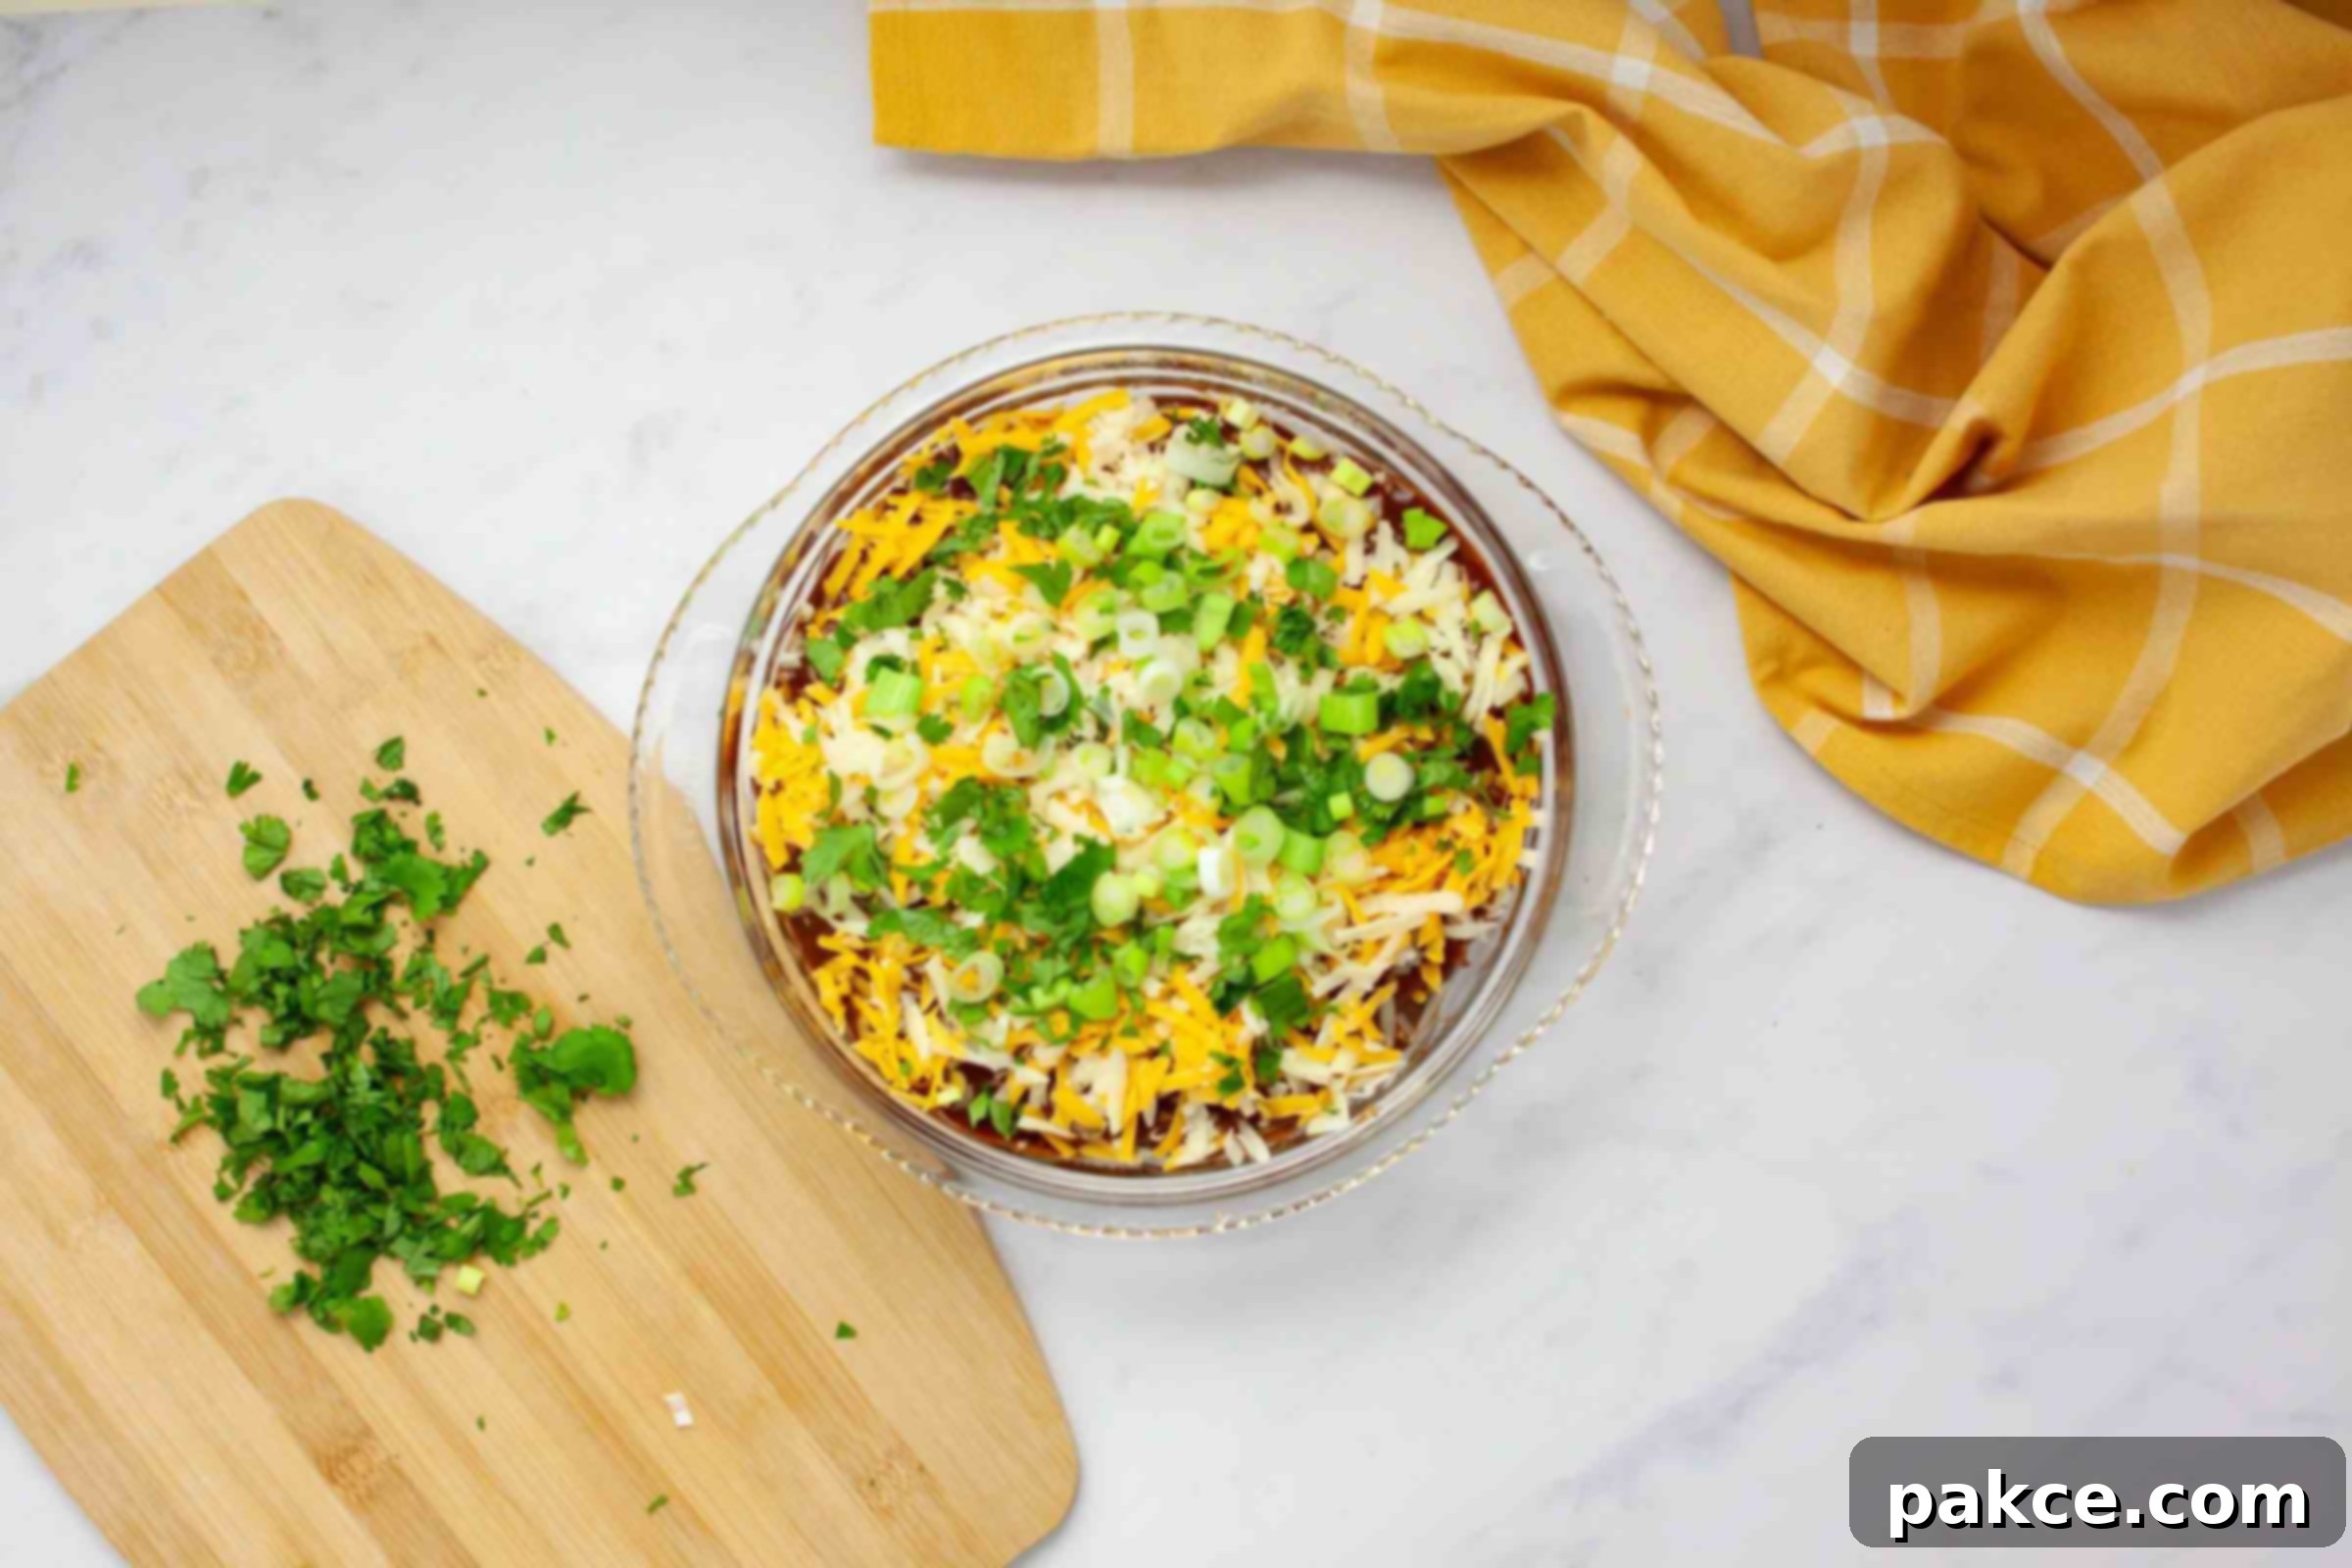
First, prepare your toppings. Set aside one-third of both the shredded cheddar and Monterey Jack cheeses. Slice the green onion thinly and chop the fresh cilantro. Keep these aside; they will be used for the final topping, either before or after baking for an extra fresh finish.
Step-by-Step: Make the Homemade Enchilada Sauce
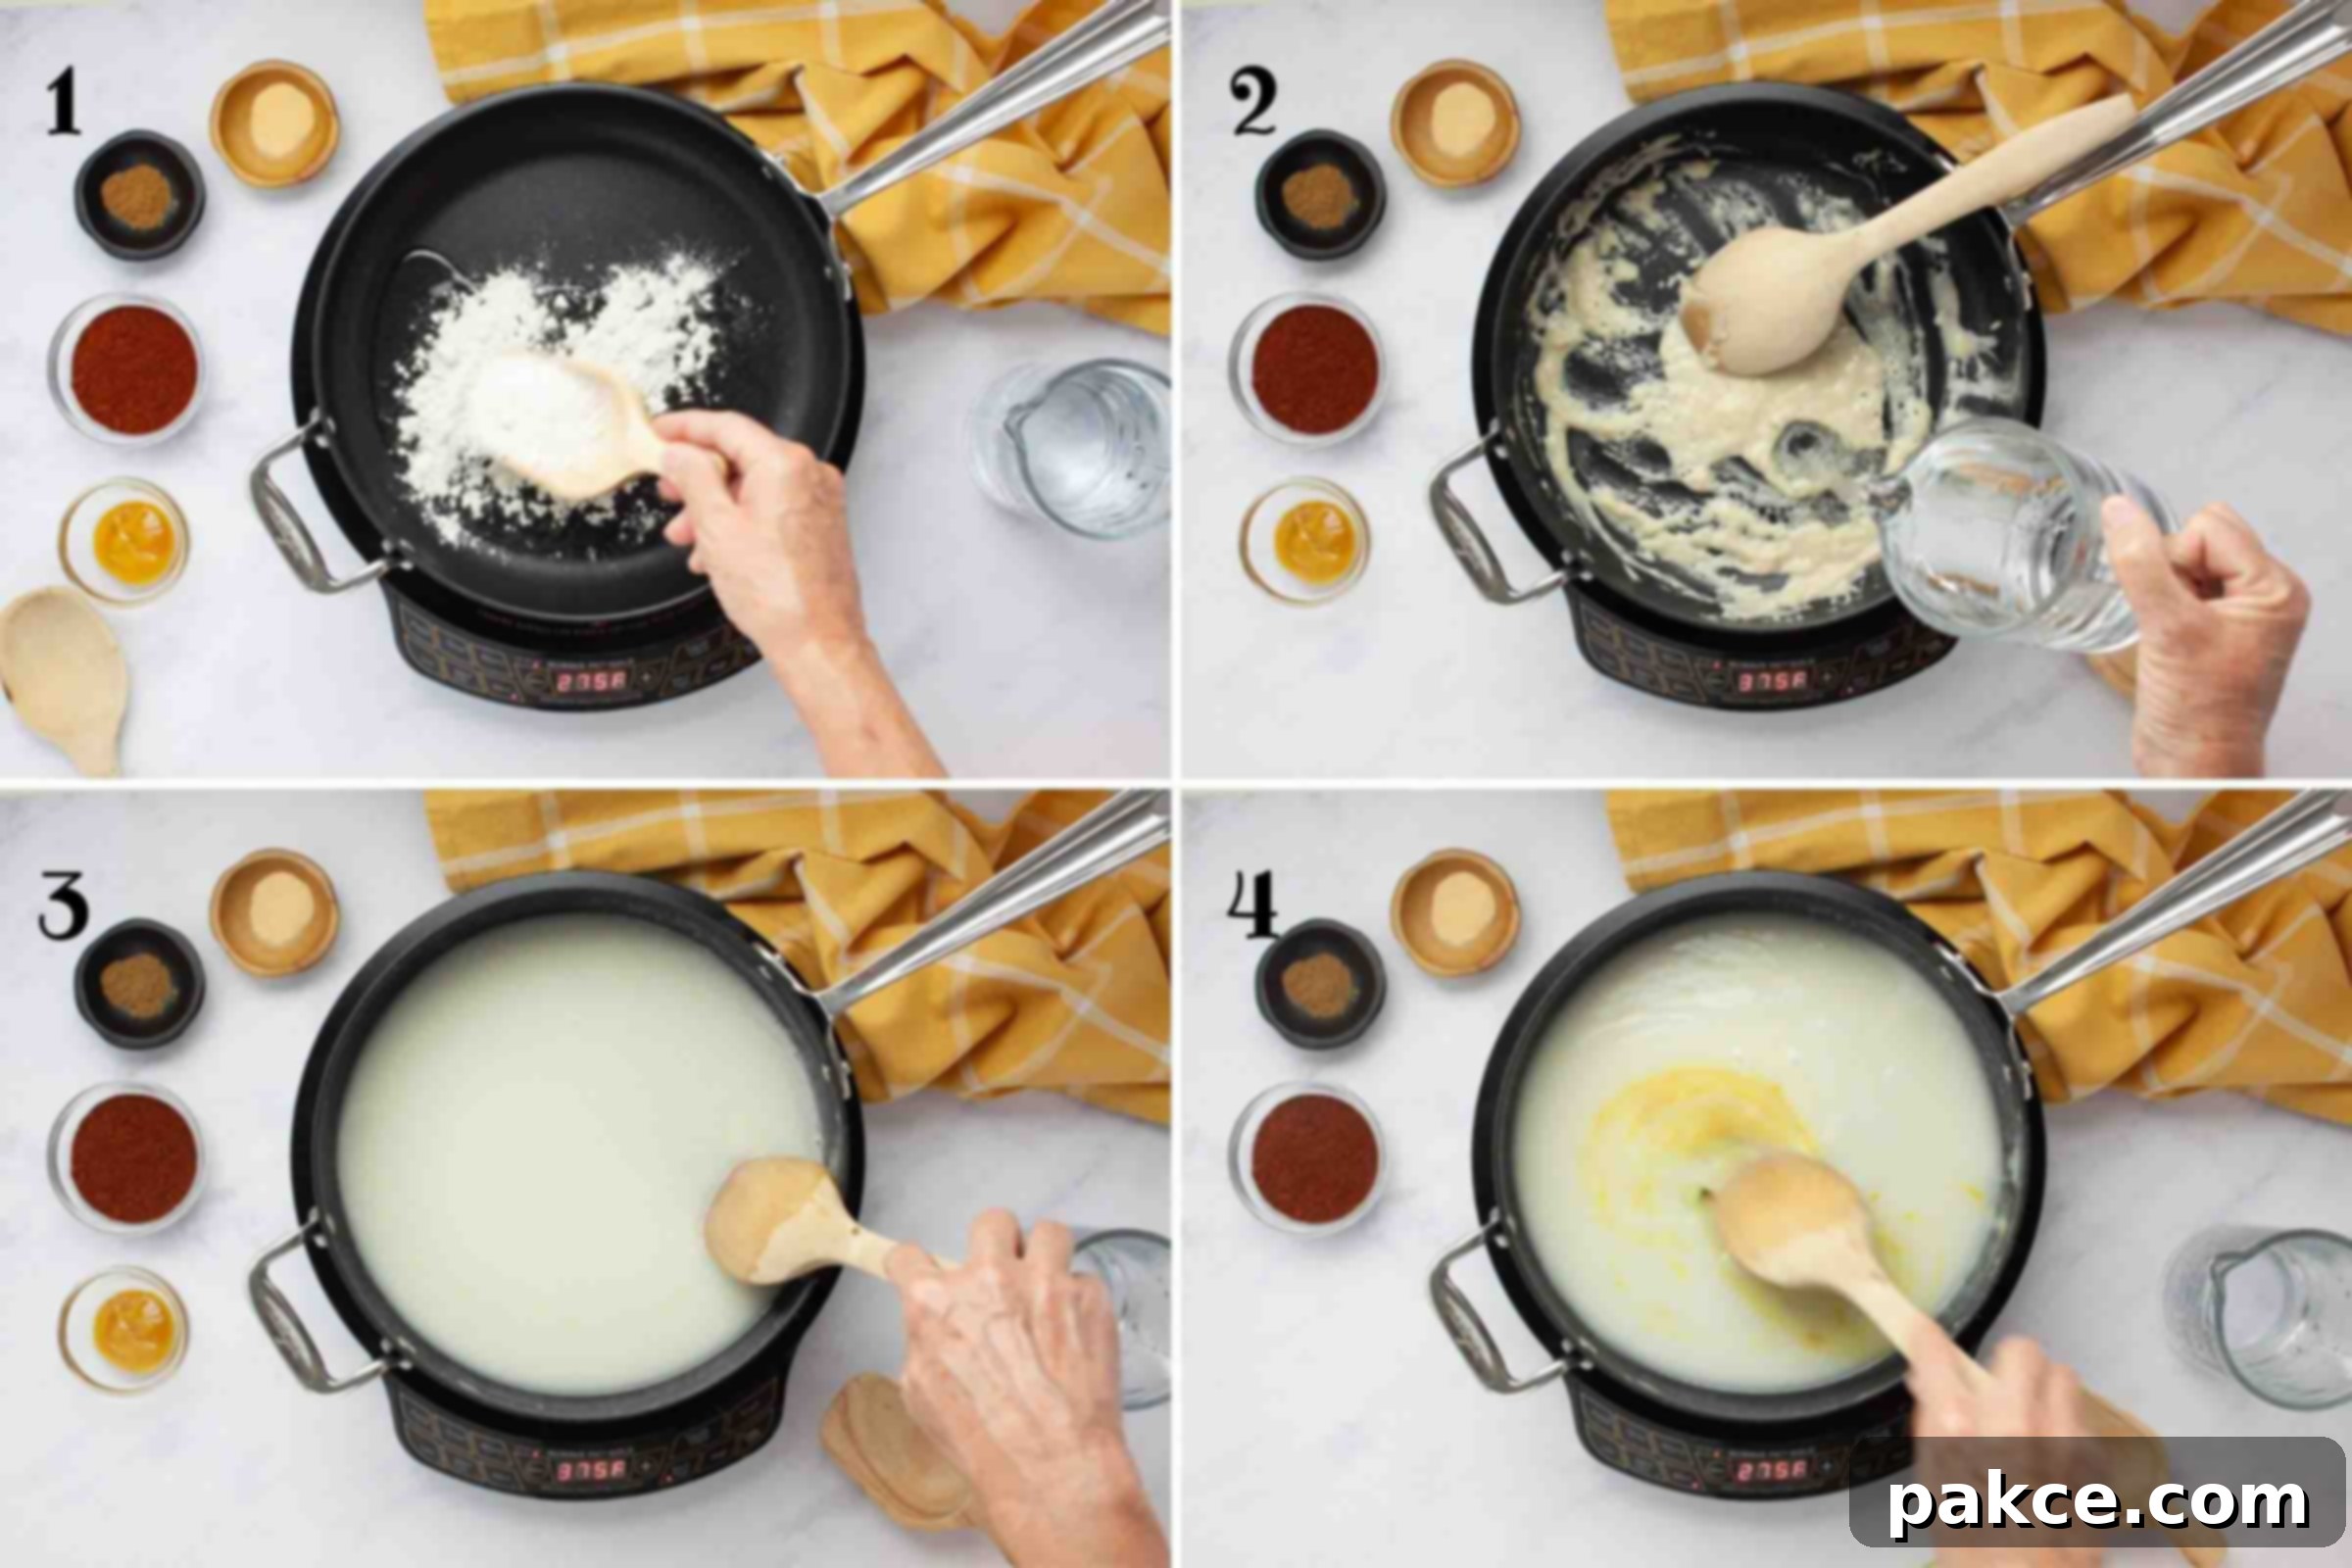
- In a large pan, combine the vegetable oil and all-purpose flour over medium heat (1). Stir continuously until they are well-blended and form a smooth paste, then continue to cook for approximately one minute, stirring constantly to lightly toast the flour.
- Gradually pour in 2 cups of water (2), stirring vigorously to prevent lumps. Continue stirring over the heat until the mixture is well combined and begins to thicken to a sauce-like consistency (3).
- Add the chicken base and mix thoroughly until it has completely dissolved into the sauce (4). Once dissolved, remove the pan from the heat.
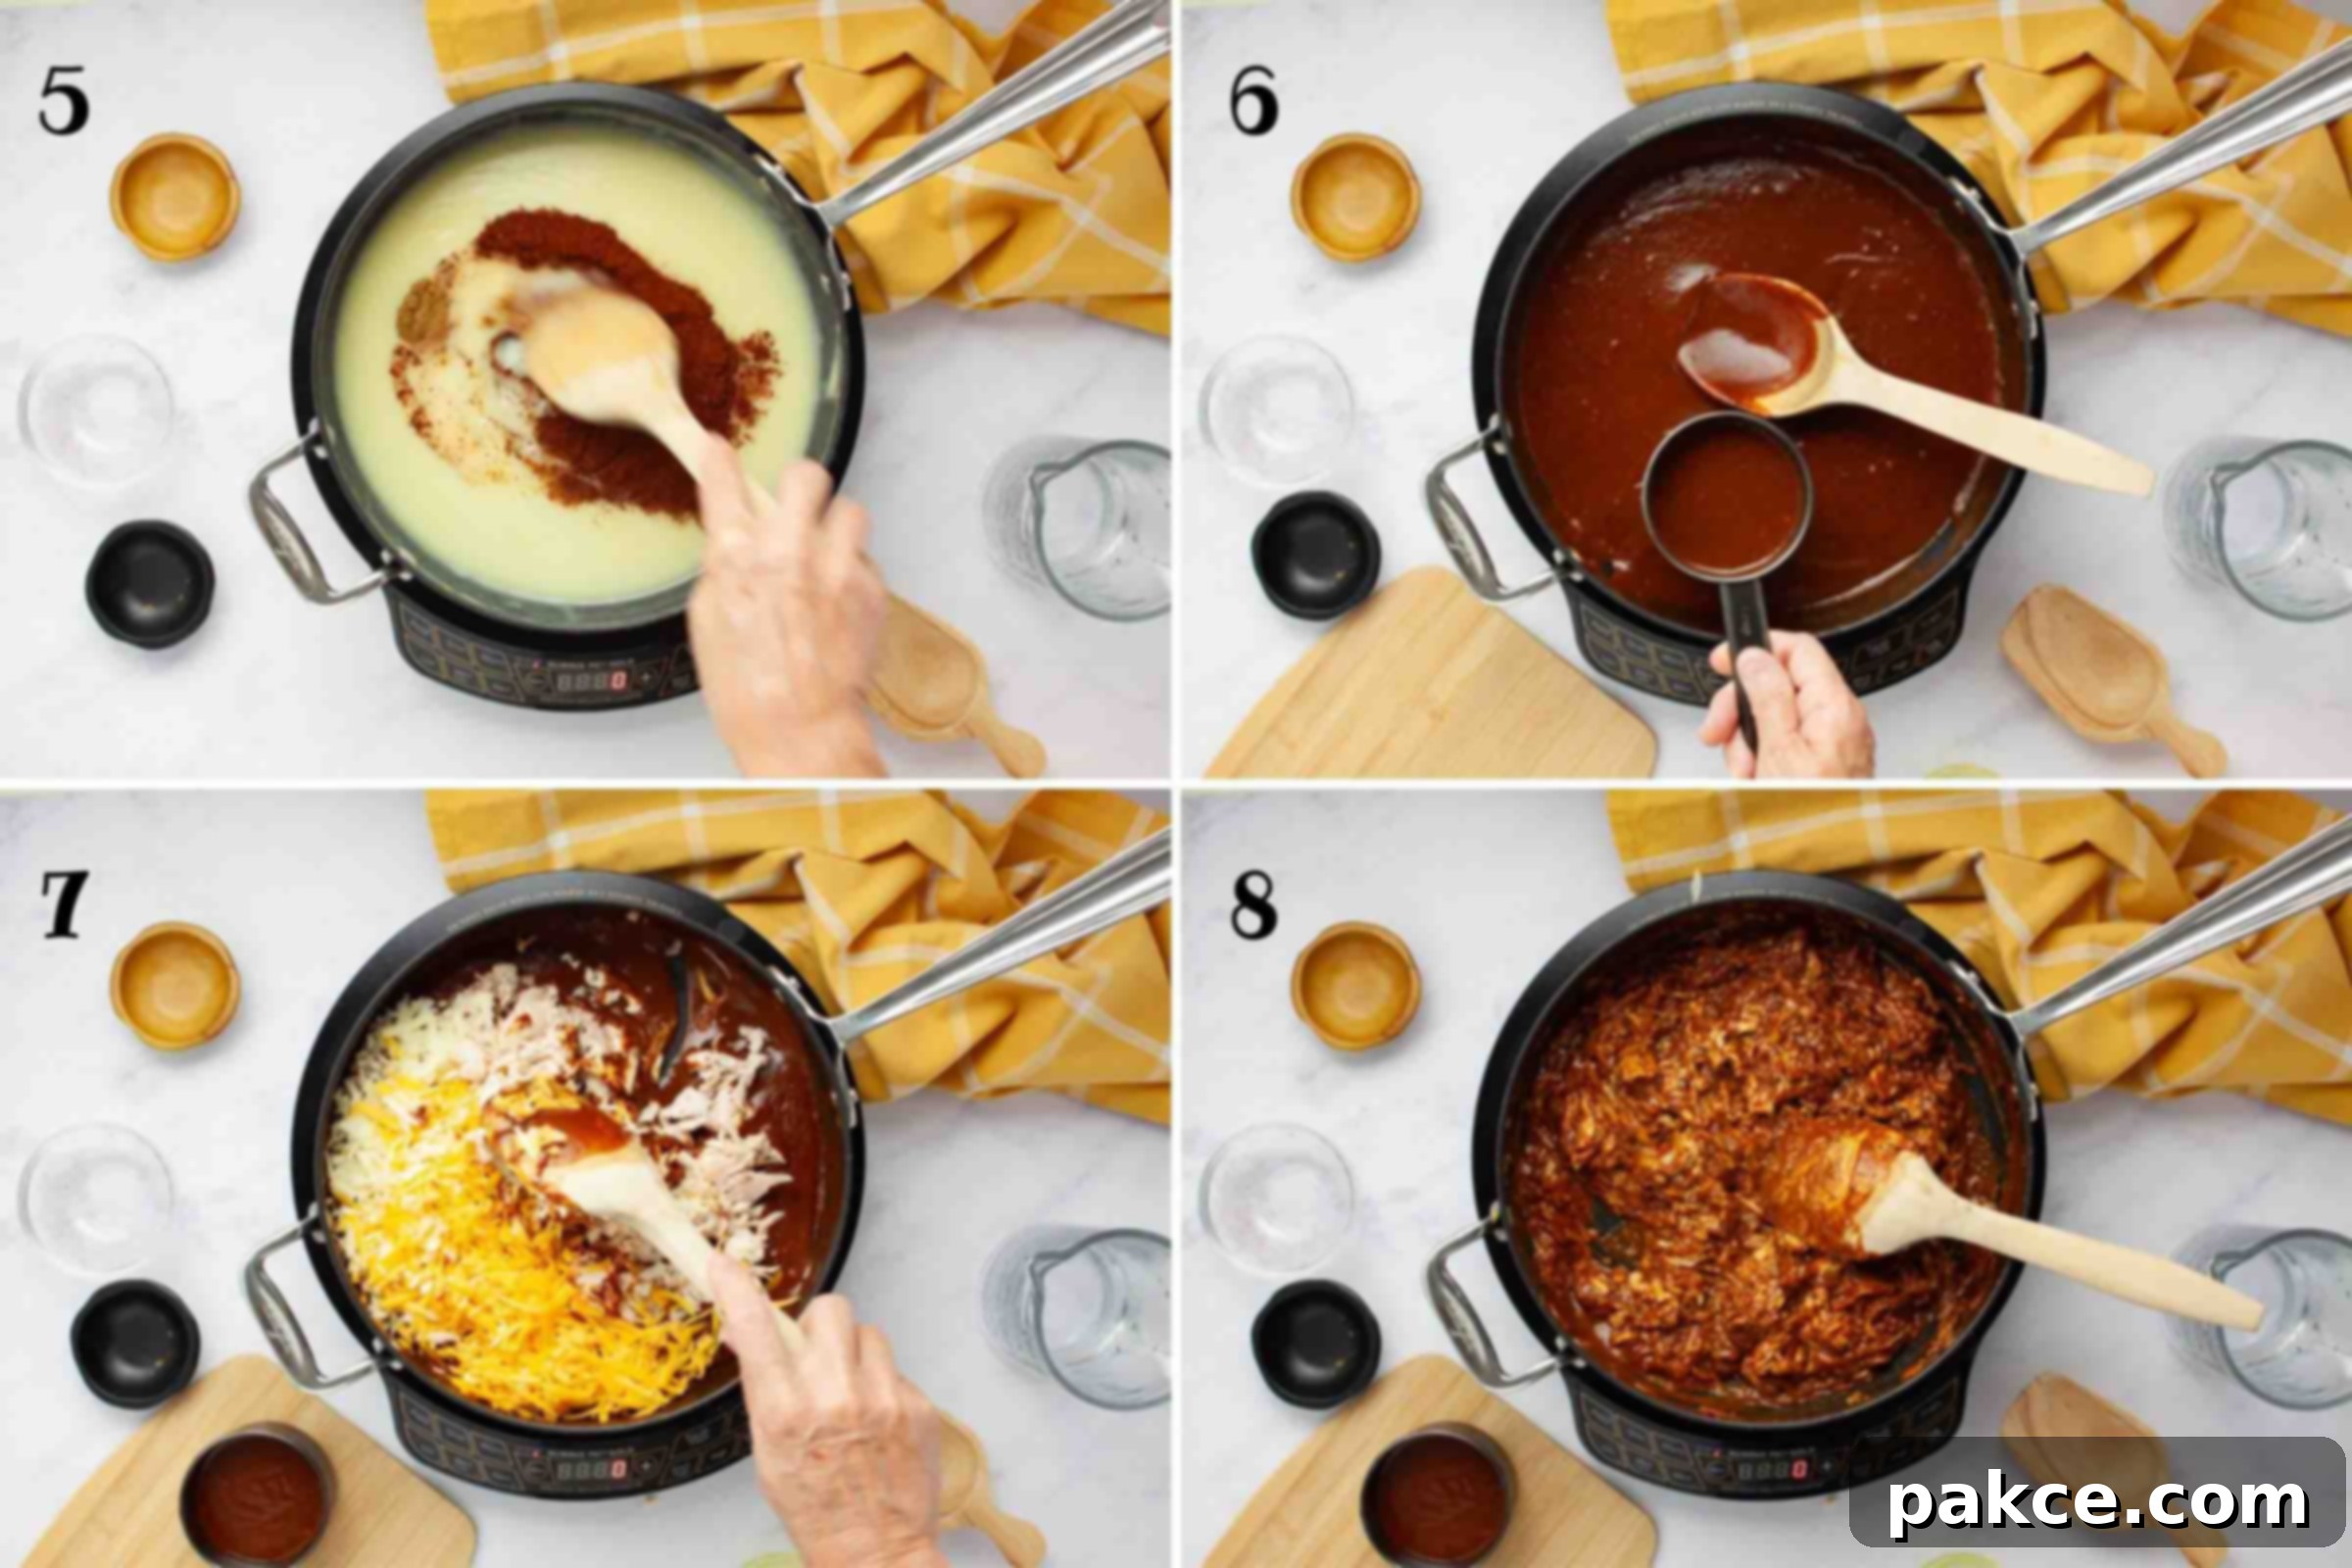
- Stir in the chili powder, garlic powder, and cumin into the sauce and mix well until all the spices are fully incorporated (5).
- Remove about ½ cup of this flavorful sauce and set it aside; this portion will be used later as a final topping for your bake (6).
Step-by-Step: Assemble the Enchilada Layers
- To the remaining larger portion of sauce, add the shredded chicken and the two-thirds of cheese you reserved earlier (7). Stir gently until all ingredients are well mixed and the chicken and cheese are evenly coated in the rich sauce (8).
- Generously spray a round baking pan or pie plate with non-stick cooking spray, ensuring no part of the pan is missed.
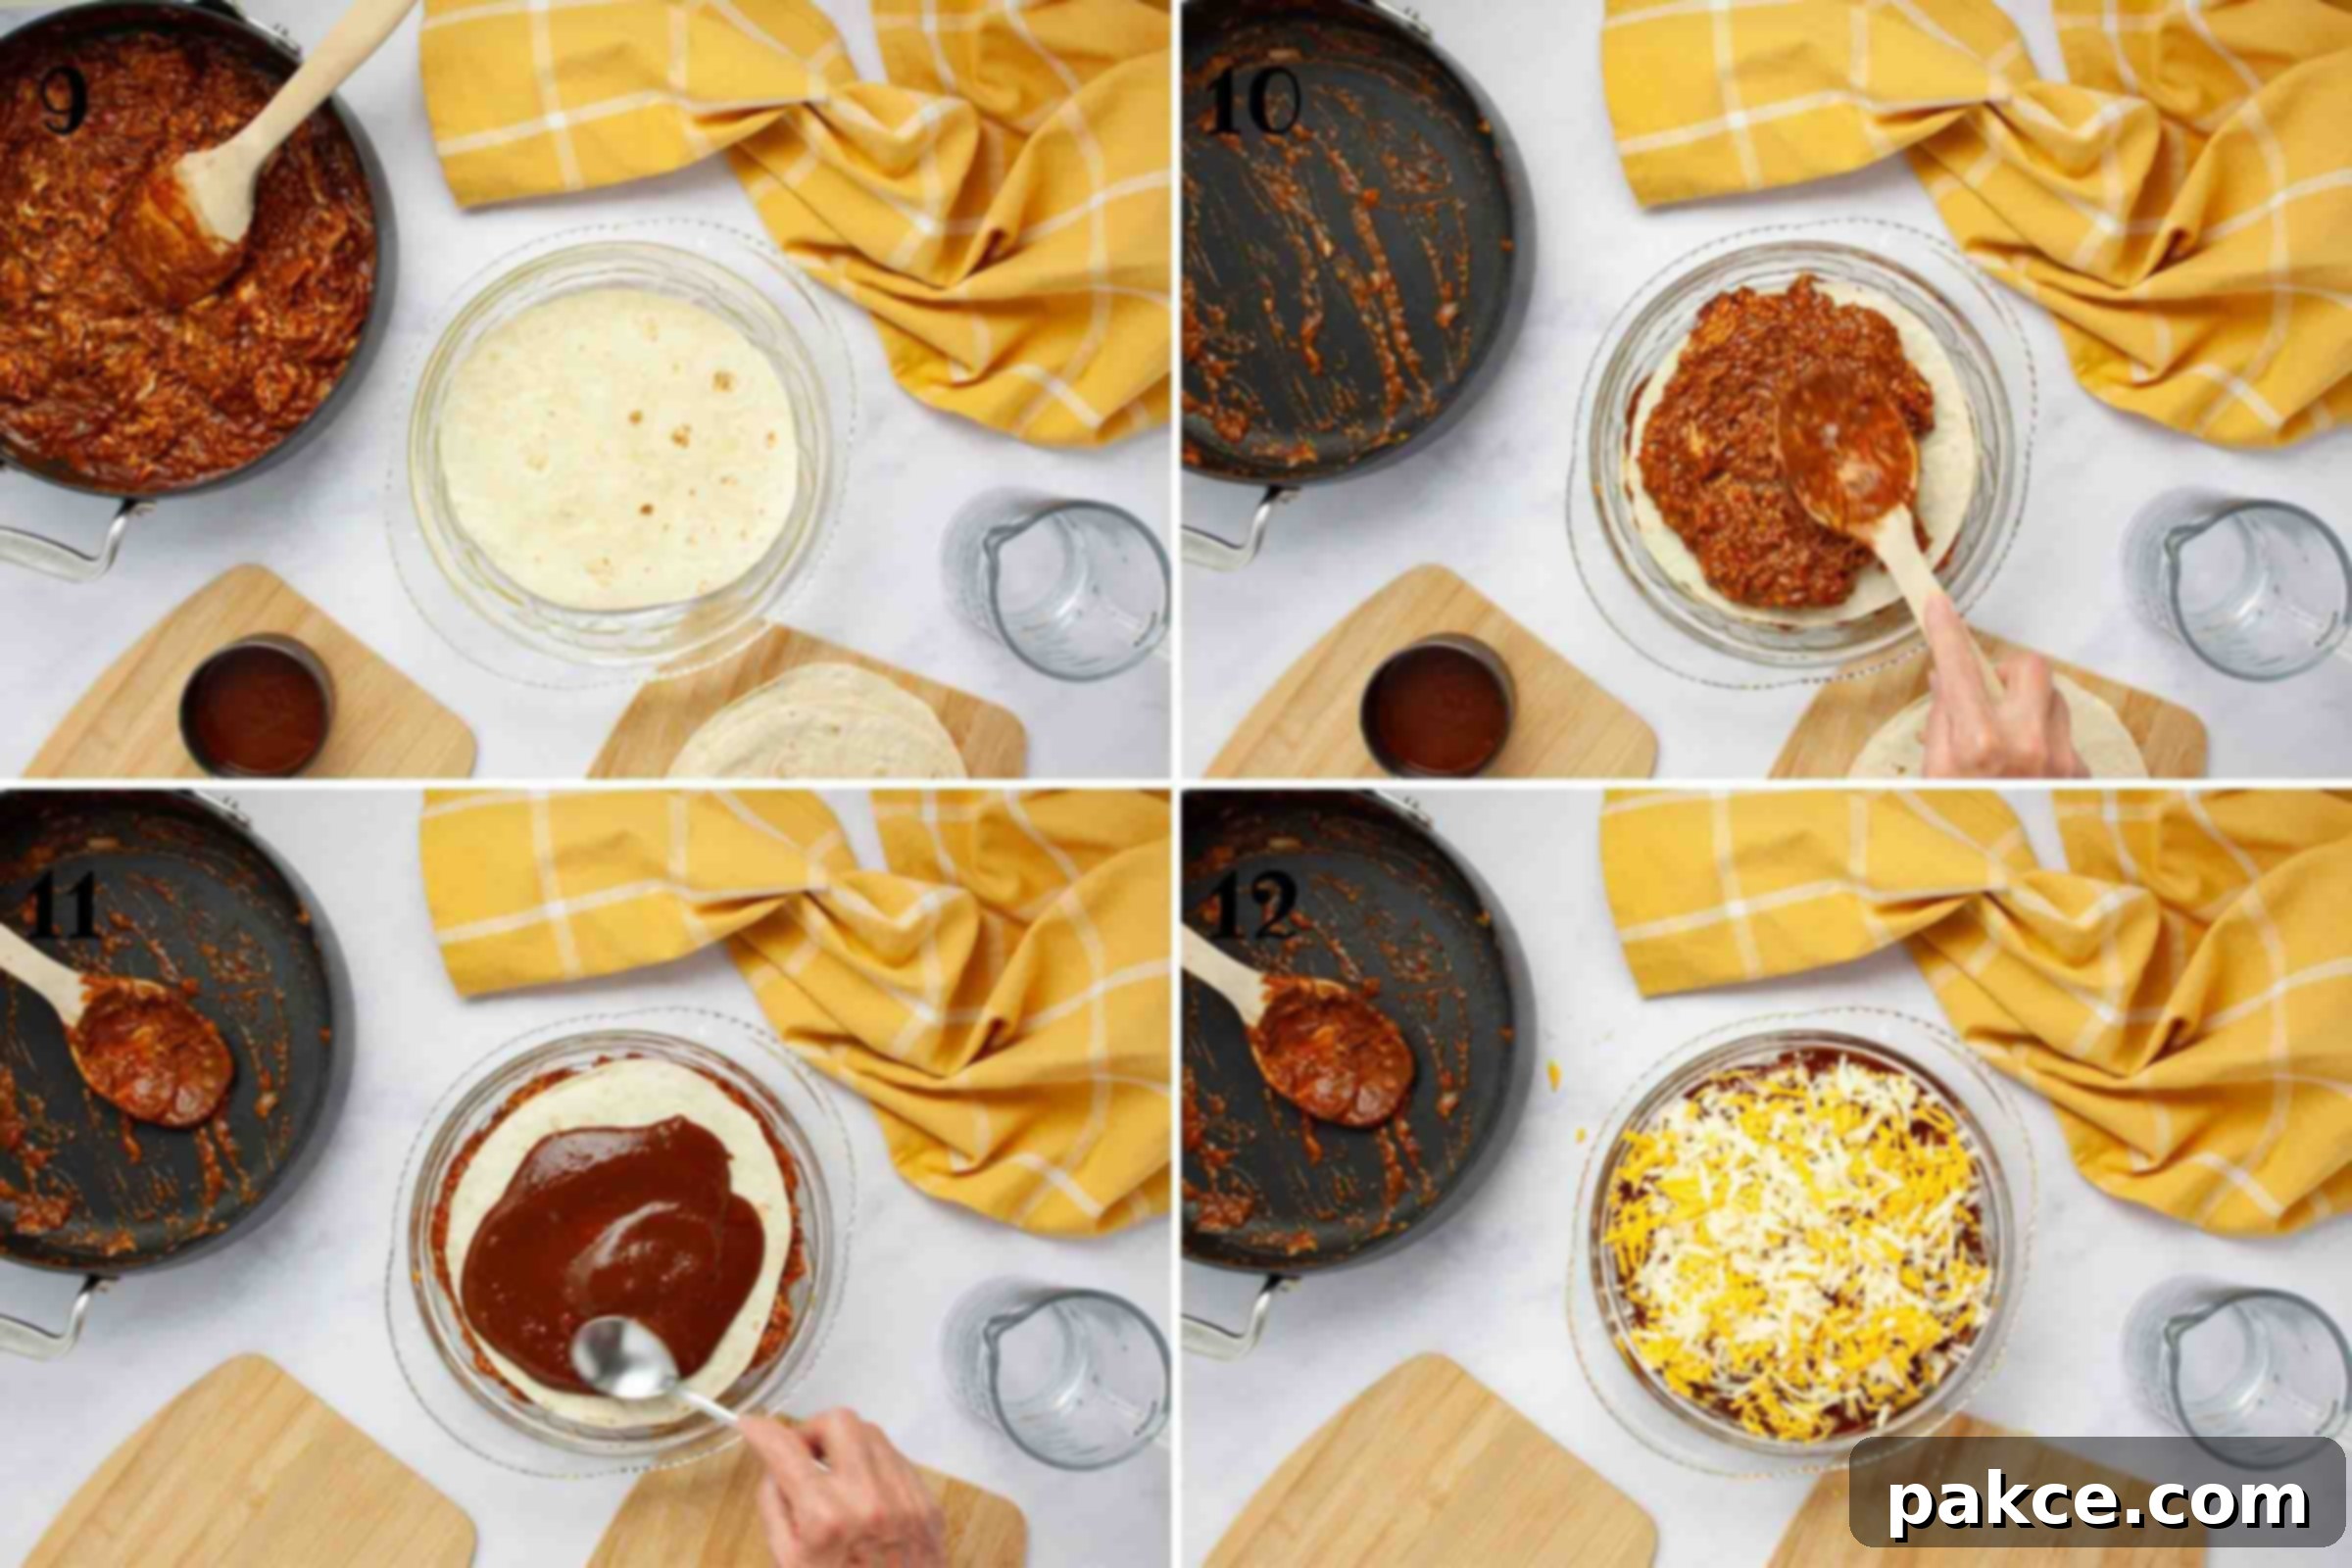
- Place one flour tortilla flat in the bottom of the prepared pan (9).
- Spread half of the flavorful chicken and cheese mixture evenly over the first tortilla. Place another tortilla on top of the chicken mixture, then spread the remaining half of the chicken mixture over this second tortilla (10).
- Finally, top with the last tortilla and pour the ½ cup of reserved sauce evenly over its surface (11).
- Sprinkle the remaining one-third of cheese generously over the top of the sauce-covered tortilla. Then, scatter the sliced green onions and chopped fresh cilantro over the cheese (12).
Bake to Golden Perfection
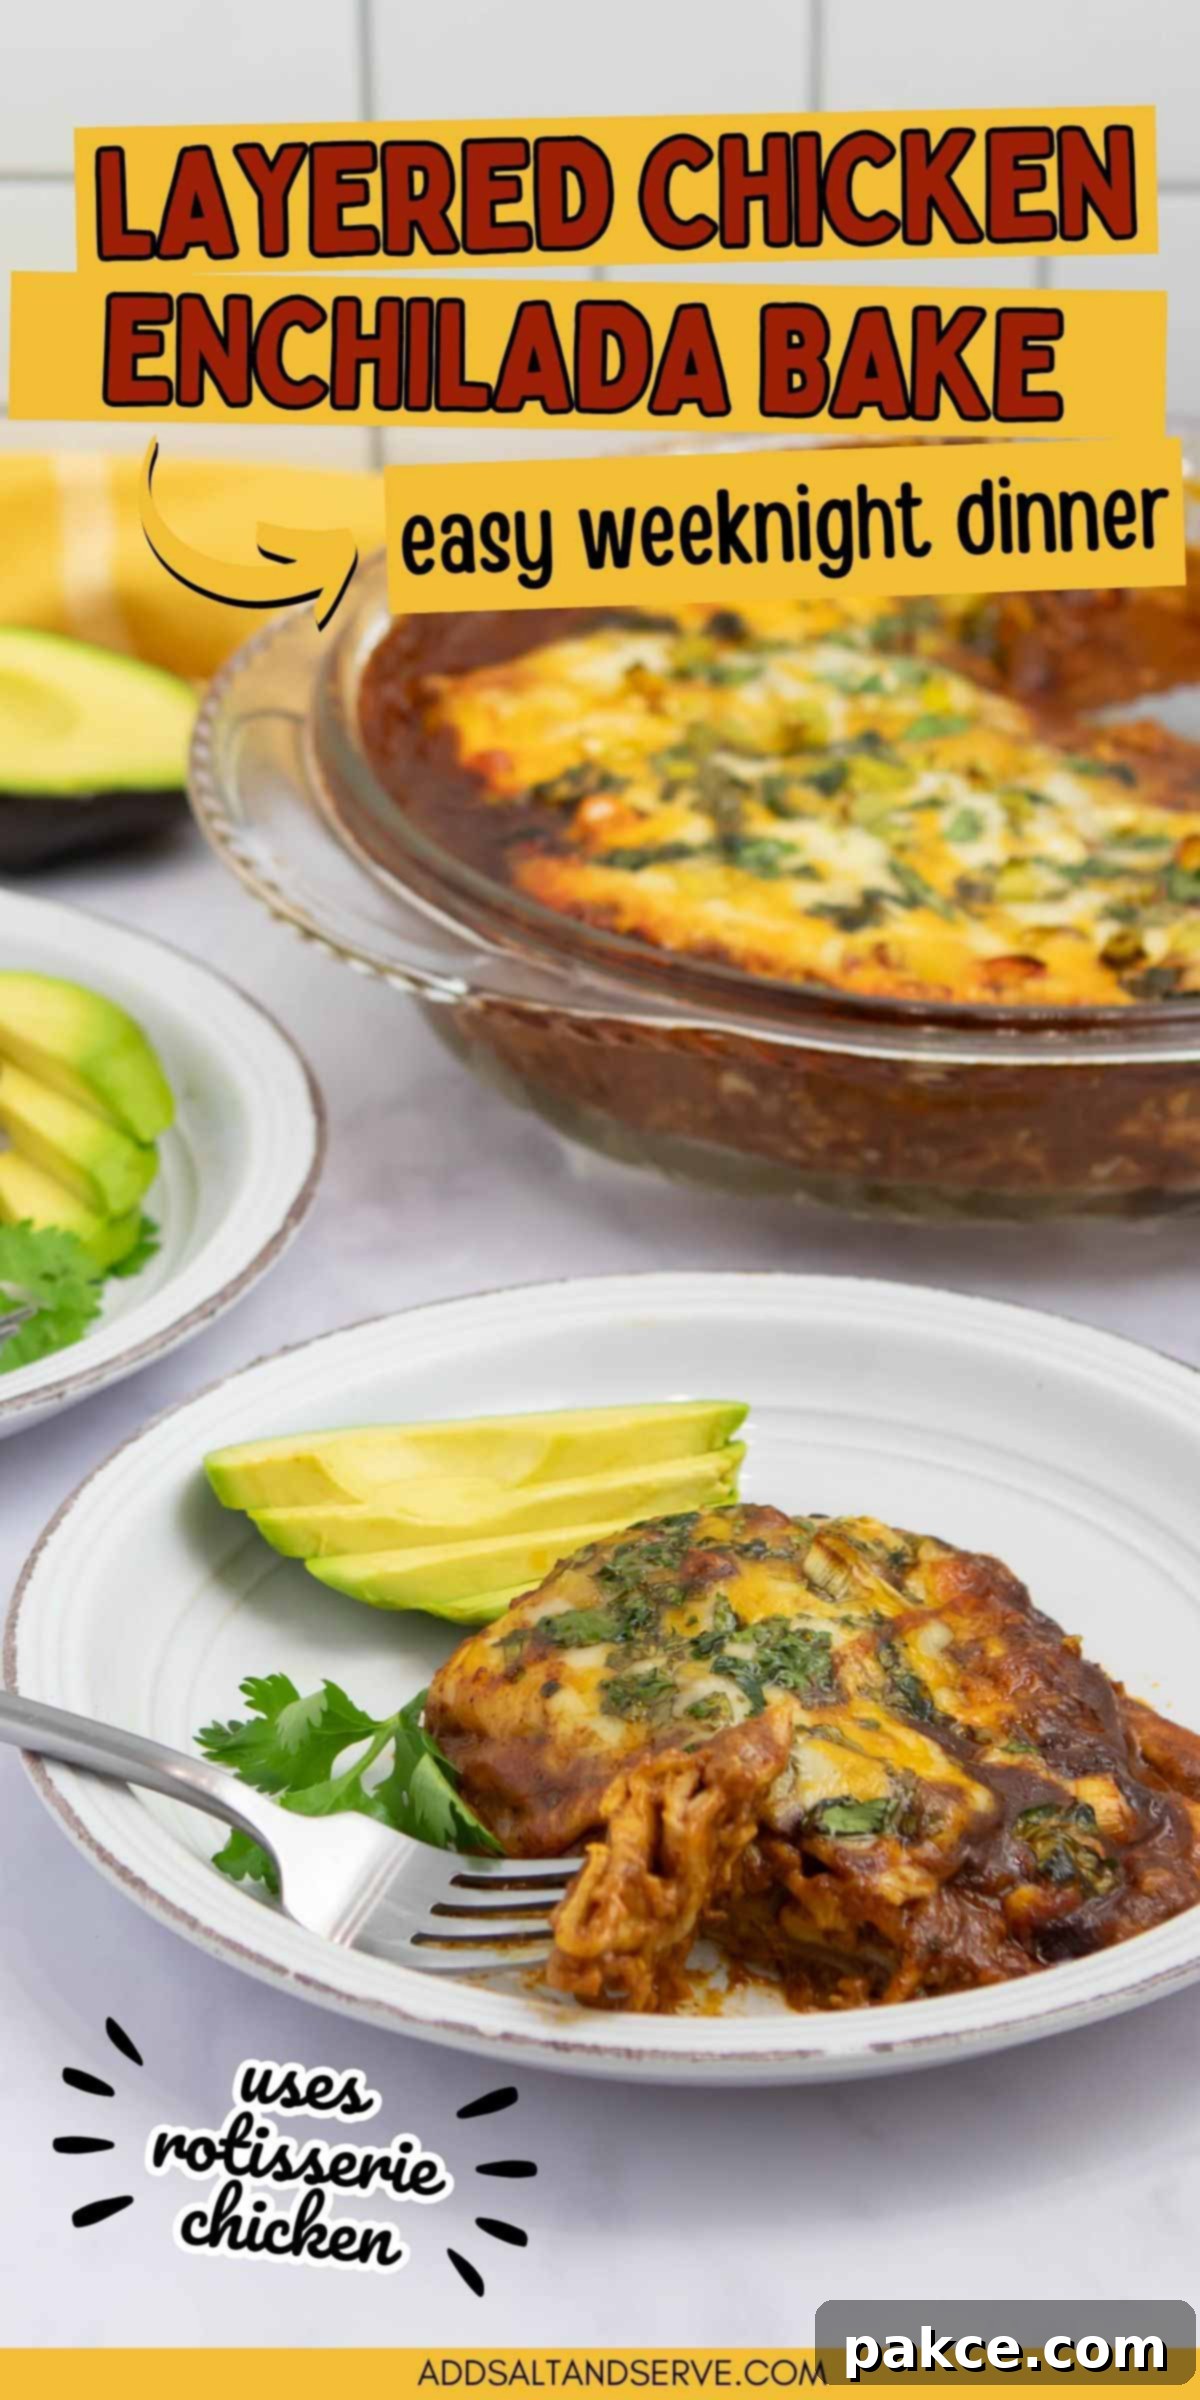
Bake your assembled chicken enchilada creation in a preheated oven at 350ºF (175ºC) for approximately 30 minutes, or until the cheese is bubbling and golden, and the entire dish is heated thoroughly through to the center.
Optional serving tip: For an even fresher and more vibrant finish, you can add additional fresh cilantro and green onions after the bake comes out of the oven.
What to Serve with Your Cheesy Chicken Enchilada Bake
A hearty enchilada bake pairs wonderfully with a variety of sides that complement its rich flavors and textures. Here are some delicious ideas to complete your meal:
- Restaurant-Style Mexican Rice: A classic pairing! This flavorful rice is easy to make ahead and adds a satisfying element to your plate, soaking up all that delicious enchilada sauce.
- Fresh Mexican Salad: A light and crisp salad is a perfect contrast to the rich bake. Incorporate fresh greens, corn, black beans, diced tomatoes, and even some crispy jalapeños for a delightful crunch. A lime-cilantro vinaigrette would be an excellent choice.
- Creamy Sliced Avocados or Guacamole: The cool, creamy texture of sliced avocados or a dollop of fresh guacamole provides a refreshing balance to the warm, cheesy enchilada bake.
Tip: To keep an unused avocado half from browning, rub a tiny bit of vegetable oil on its exposed surface before storing it in an airtight container.
- Sour Cream or Mexican Crema: A swirl of cooling sour cream or a drizzle of authentic Mexican crema can enhance the richness and provide a pleasant tang.
- Salsa Fresca or Pico de Gallo: A vibrant, fresh salsa can add a burst of acidity and fresh flavor that brightens the entire dish.
Remember, utilizing shortcuts like rotisserie chicken can save you valuable time without sacrificing flavor. Be sure to explore my comprehensive post on 10 easy recipes with rotisserie chicken for even more inspiration on fast and delicious weeknight meals!
Recipe
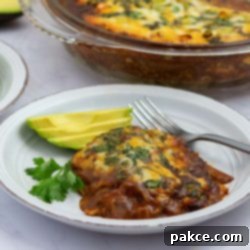
Layered Chicken Enchilada Bake
Add to Shopping ListGo to Shopping List
Ingredients
- 8 ounces shredded rotisserie chicken
- 3 flour tortillas (8-10″ or to fit your pan)
- ¼ cup all-purpose flour
- 2½ tablespoons vegetable oil
- 1 tablespoon chicken base, or bouillon equivalent
- 2 cups water
- 5 tablespoons chili powder
- ½ teaspoon garlic powder
- ½ teaspoon cumin
- 6 ounces shredded cheddar cheese
- 6 ounces shredded Monterey Jack cheese
- 1 green onion
- 2 tablespoons fresh cilantro
- non-stick cooking spray
Instructions
-
Reserve ⅓ of both the 6 ounces shredded cheddar cheese and 6 ounces shredded Monterey Jack cheese to use as a topping.
-
Finely slice 1 green onion and chop 2 tablespoons fresh cilantro. Set these aside with the reserved cheese for garnishing.
-
In a large pan, combine 2½ tablespoons vegetable oil and ¼ cup all-purpose flour over medium heat. Stir until well-blended into a smooth roux, then continue heating for about one minute, stirring constantly.
-
Add 2 cups water gradually, continuing to stir over heat until well mixed and the sauce starts to thicken.
-
Stir in 1 tablespoon chicken base until completely dissolved. Remove the pan from heat.
-
Add 5 tablespoons chili powder, ½ teaspoon garlic powder, and ½ teaspoon cumin to the sauce and mix thoroughly until all spices are incorporated.
-
Scoop out ½ cup of the prepared sauce and set it aside for the topping later.
-
To the remaining sauce mixture, add 8 ounces shredded rotisserie chicken and ⅔ of the total cheeses. Stir gently until the chicken and cheese are well coated.
-
Generously spray a round baking pan or pie plate with non-stick cooking spray.
-
Place one of the 3 flour tortillas (8-10″ or to fit your pan) flat into the prepared pan.
-
Evenly spread half of the chicken mixture over the tortilla. Place another tortilla on top, and then spread the remaining chicken mixture over this second tortilla.
-
Top with the last tortilla, and then pour the reserved ½ cup of sauce evenly over it.
-
Generously sprinkle the remaining reserved cheese, green onions, and cilantro over the top layer.
-
Bake in the preheated oven at 350ºF (175ºC) for 30 minutes, or until the bake is heated through and the cheese is bubbly and lightly golden.
Notes
Optional Garnish: For an even fresher and more vibrant presentation, you can choose to add the cilantro and green onions after the bake comes out of the oven.
Converting from a Pie Plate to a Casserole Dish: This recipe is most easily prepared in a pie plate using 8-10 inch flour tortillas (which fit perfectly in most standard pie plates). If you wish to use a rectangular or square casserole dish instead, you will need to double the entire recipe. For layering, use tortillas no wider than the width of your dish, and cut some in half or into smaller pieces to fill any gaps, ensuring a consistent layer throughout the casserole.
Nutrition per serving
Share
Pin
